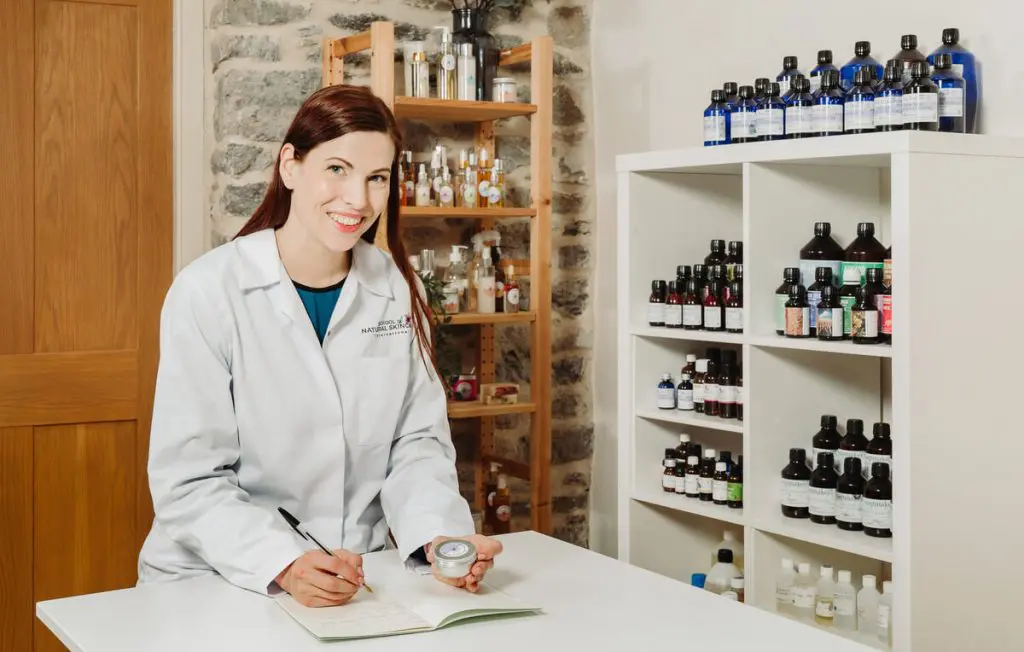

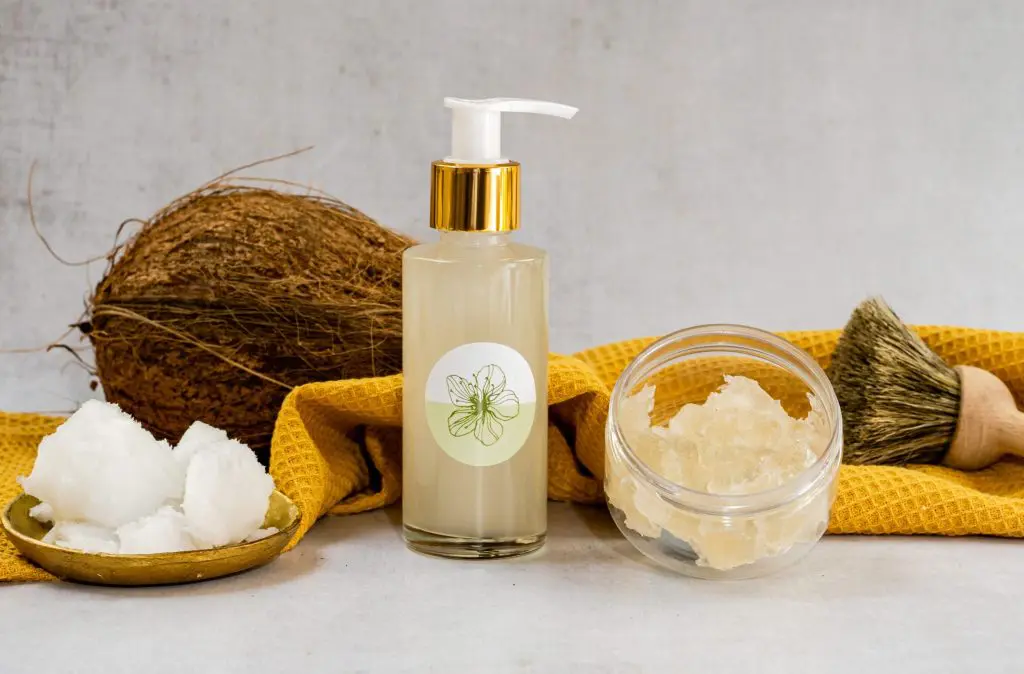


Learn about the chemistry of cosmetics, ingredients, equipment, packaging and suppliers.
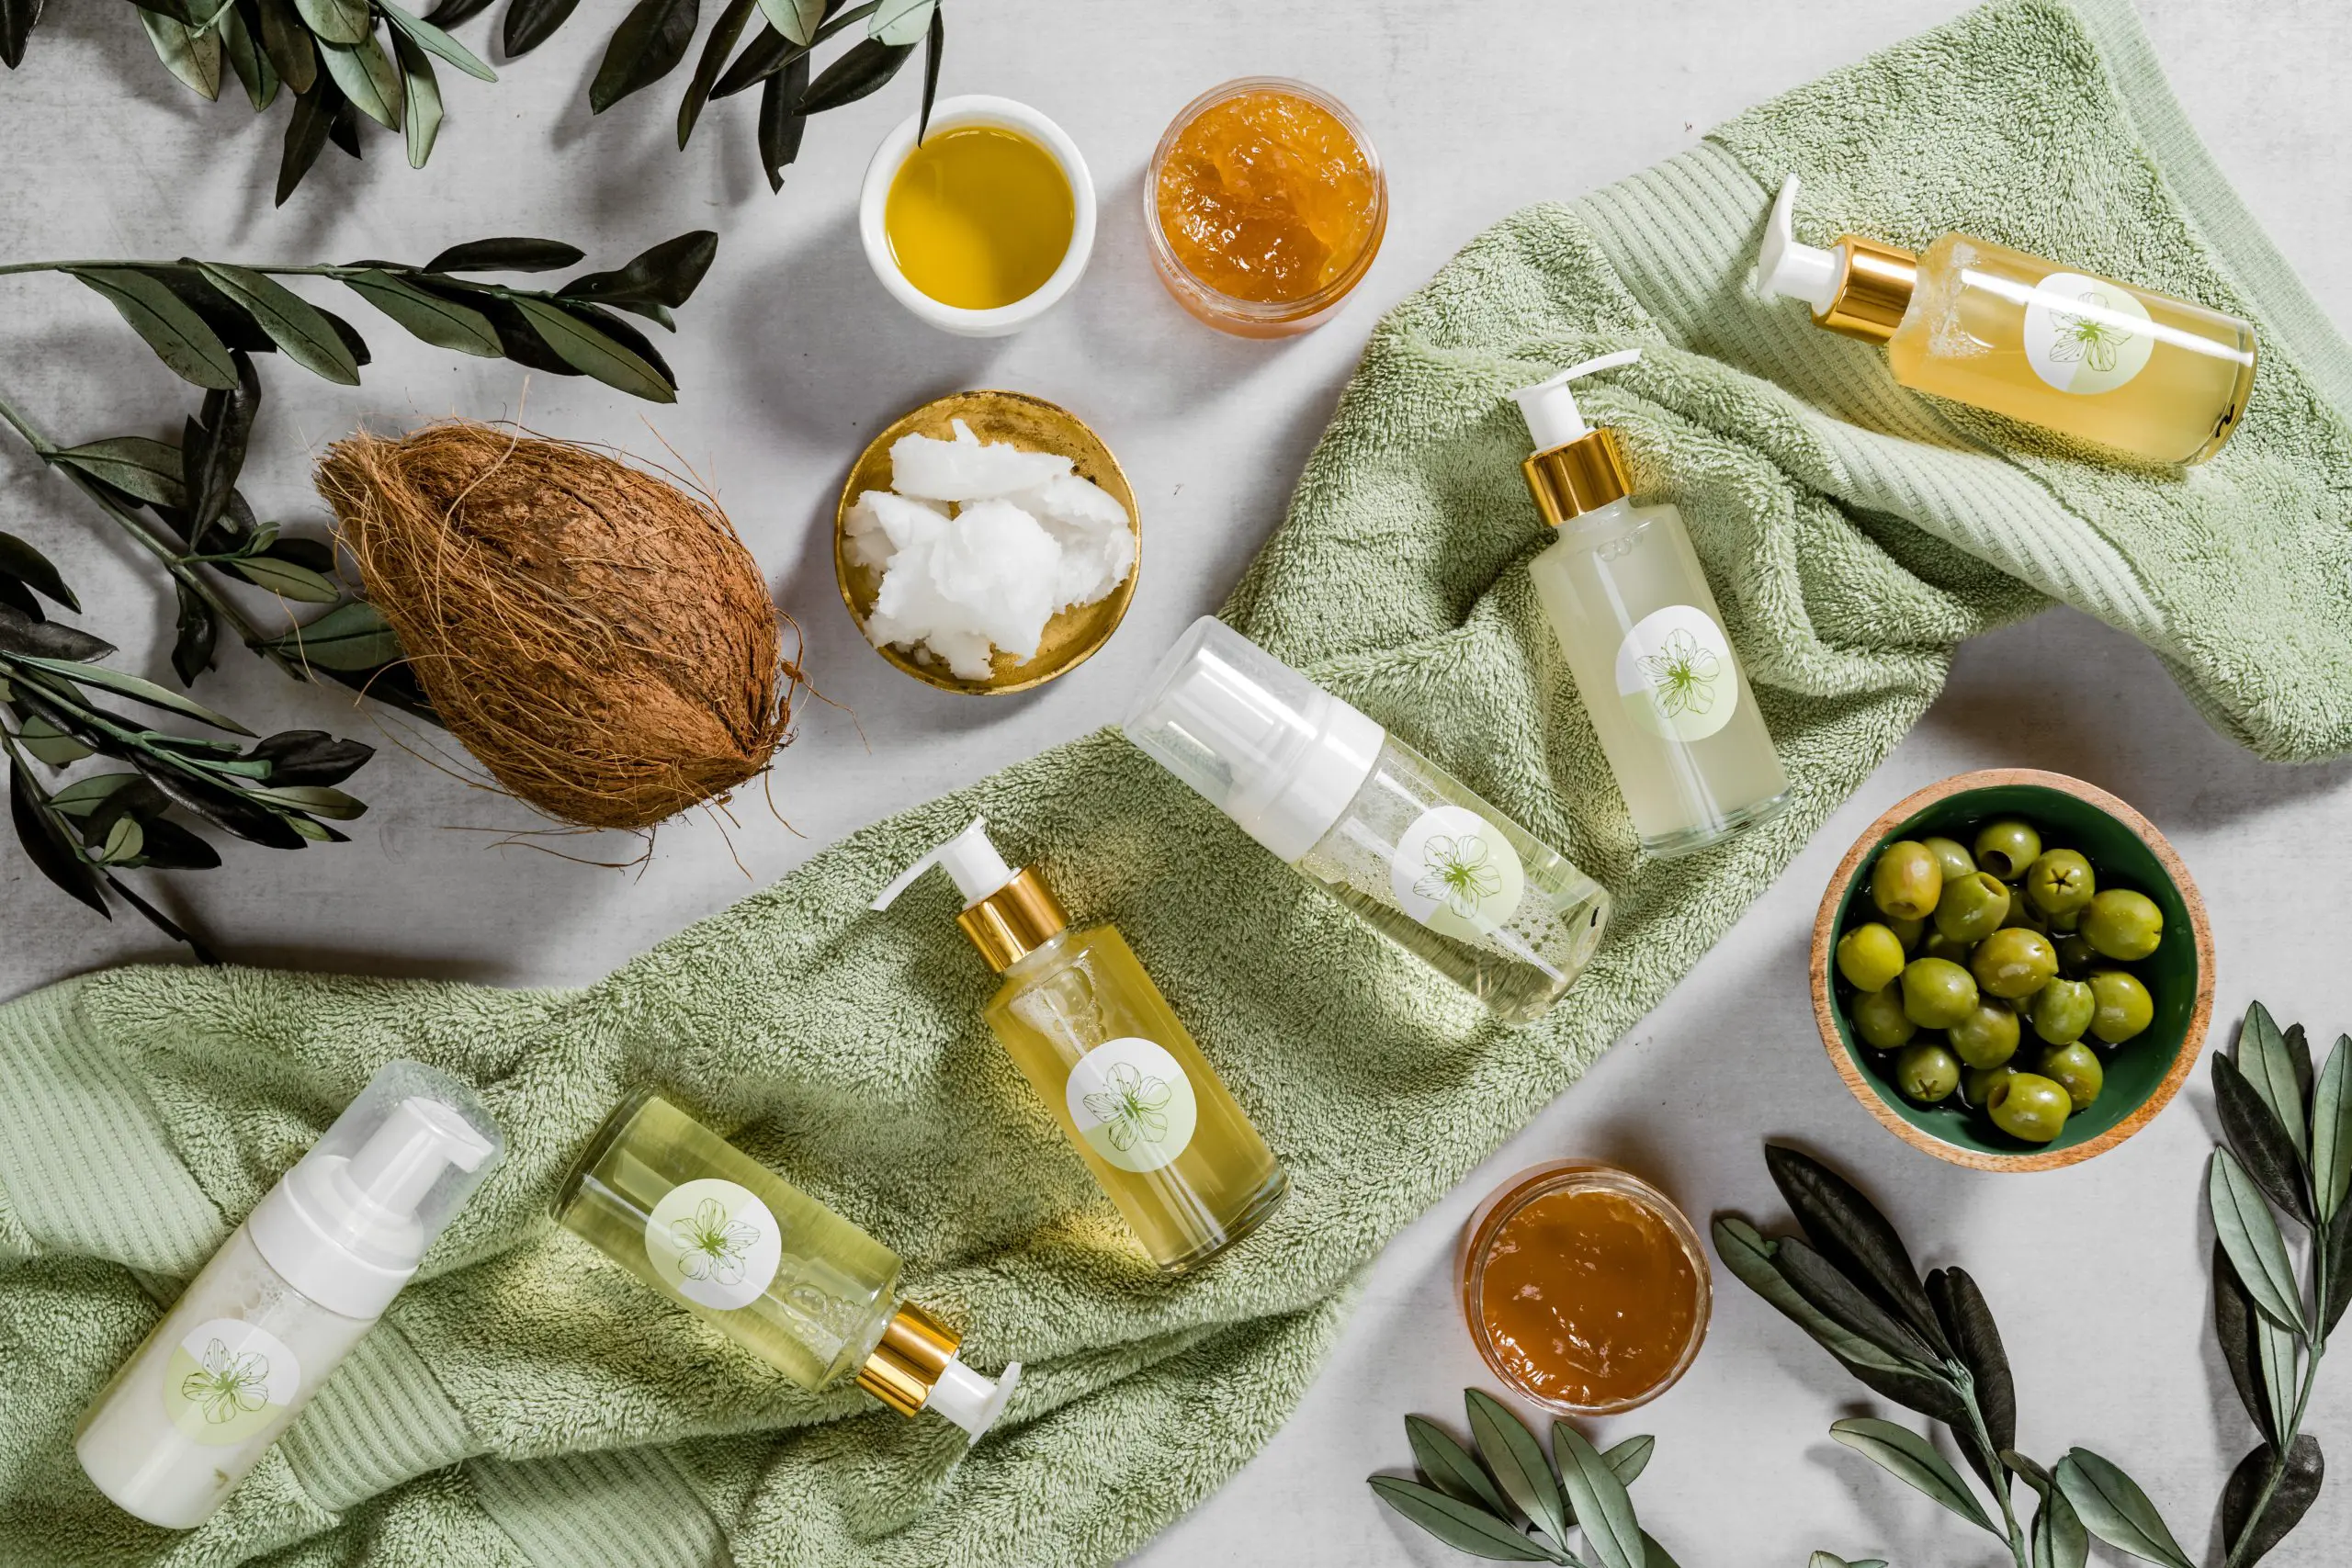
We break each product down and explain the ingredients used, their function, benefits and usage rates.
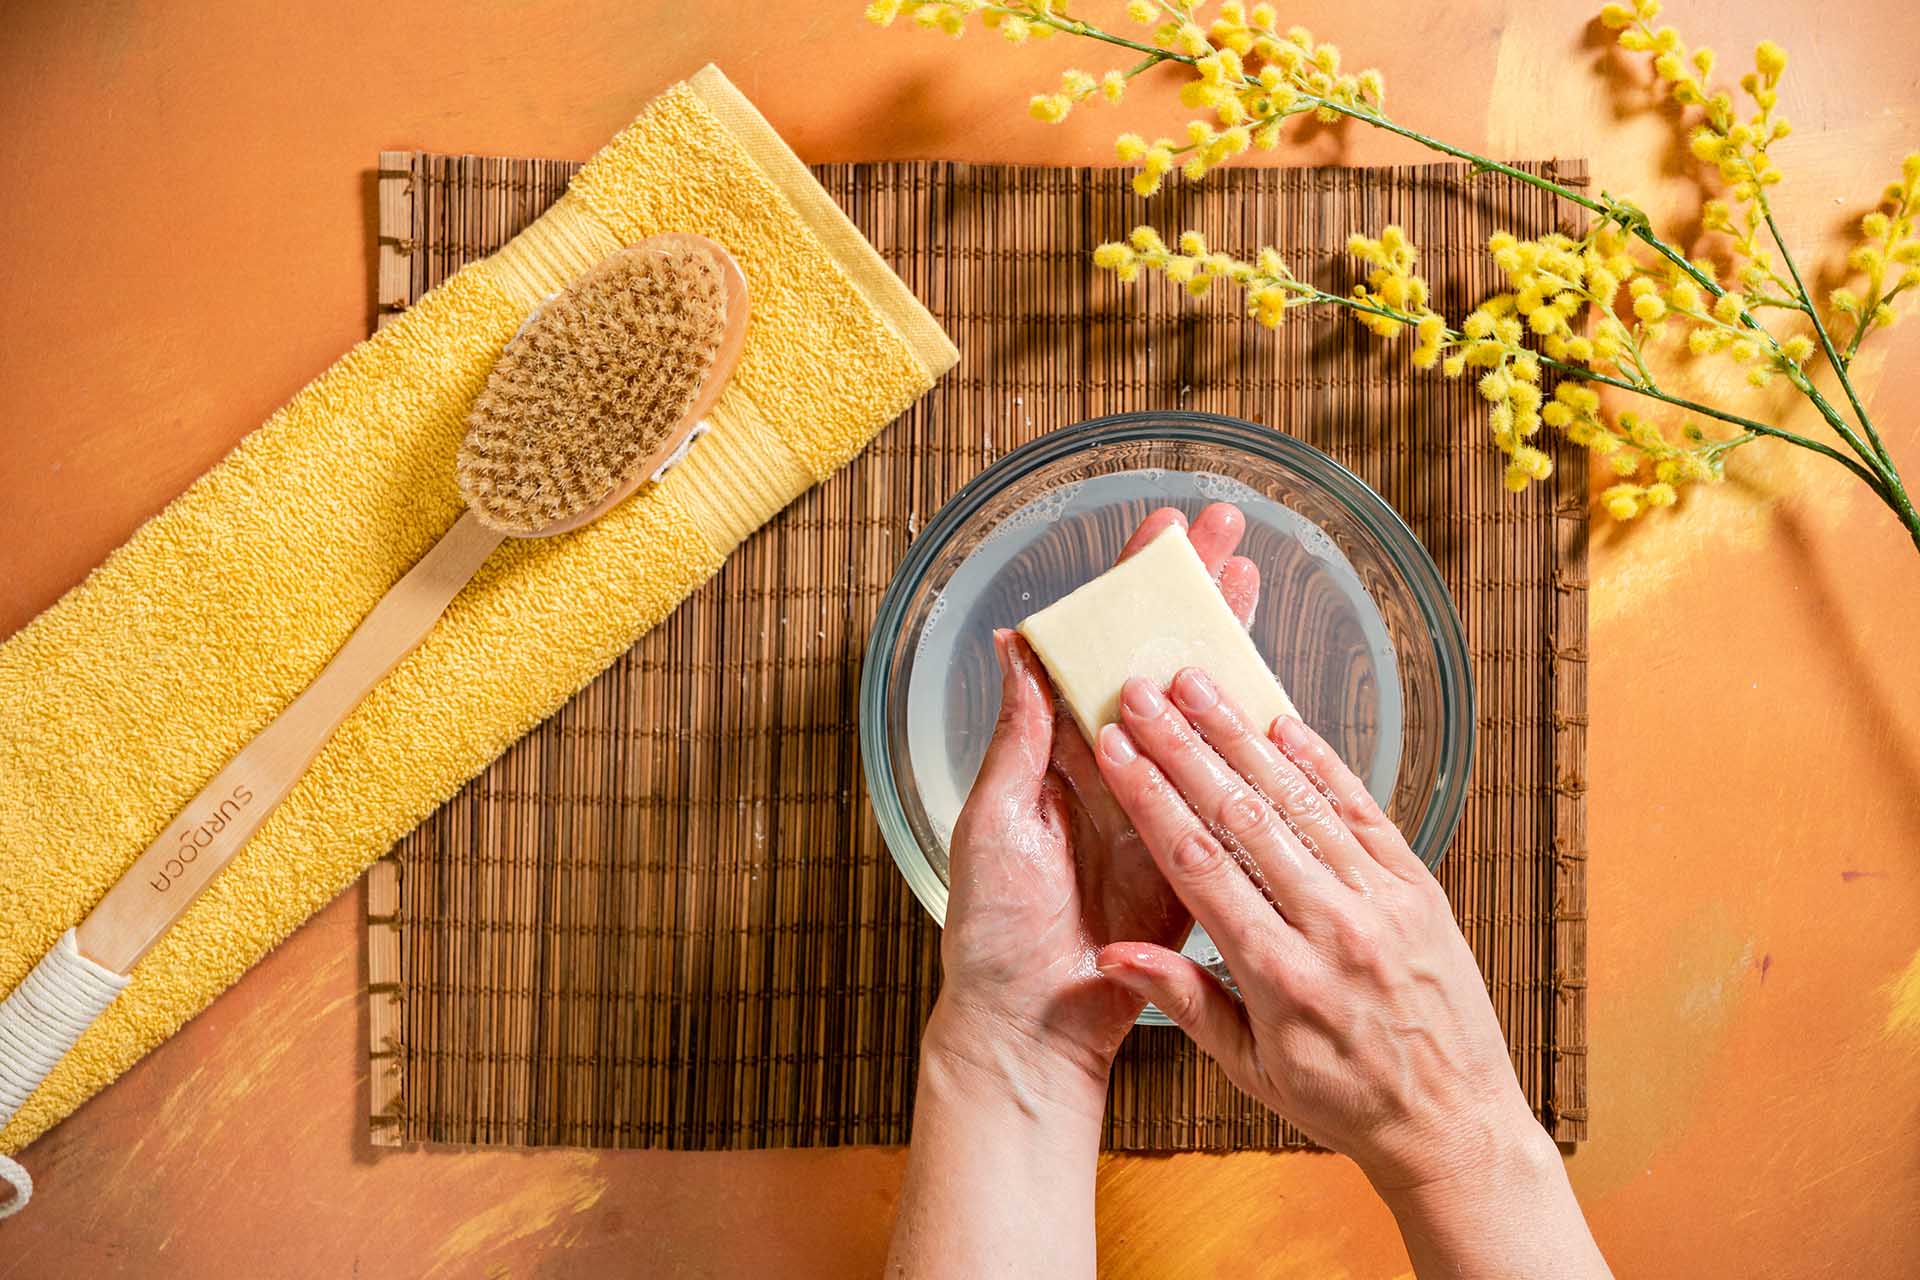
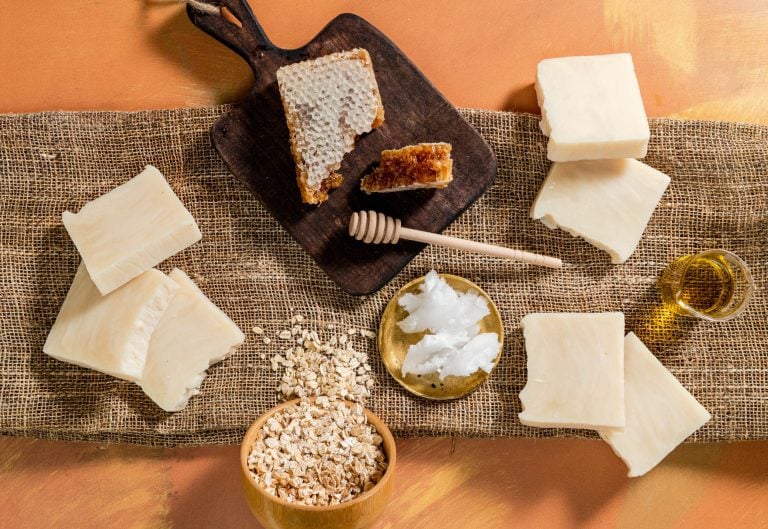
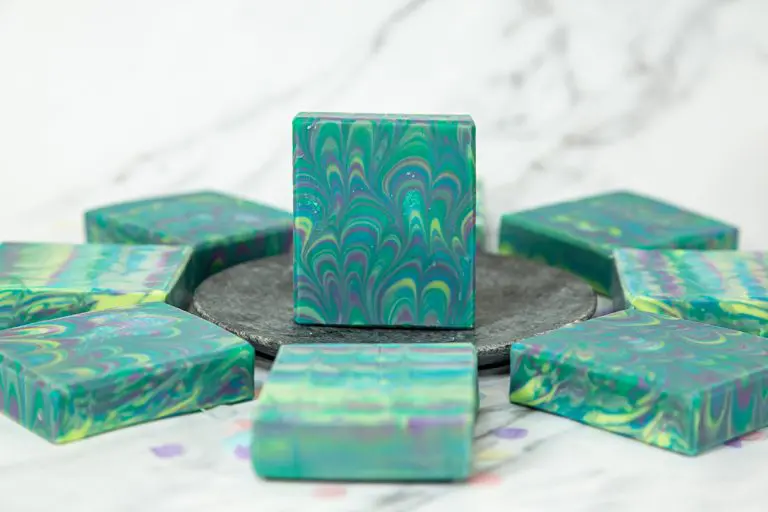
Analyze products on the market to learn how they are formulated and use them as inspiration for your own products, if you wish.
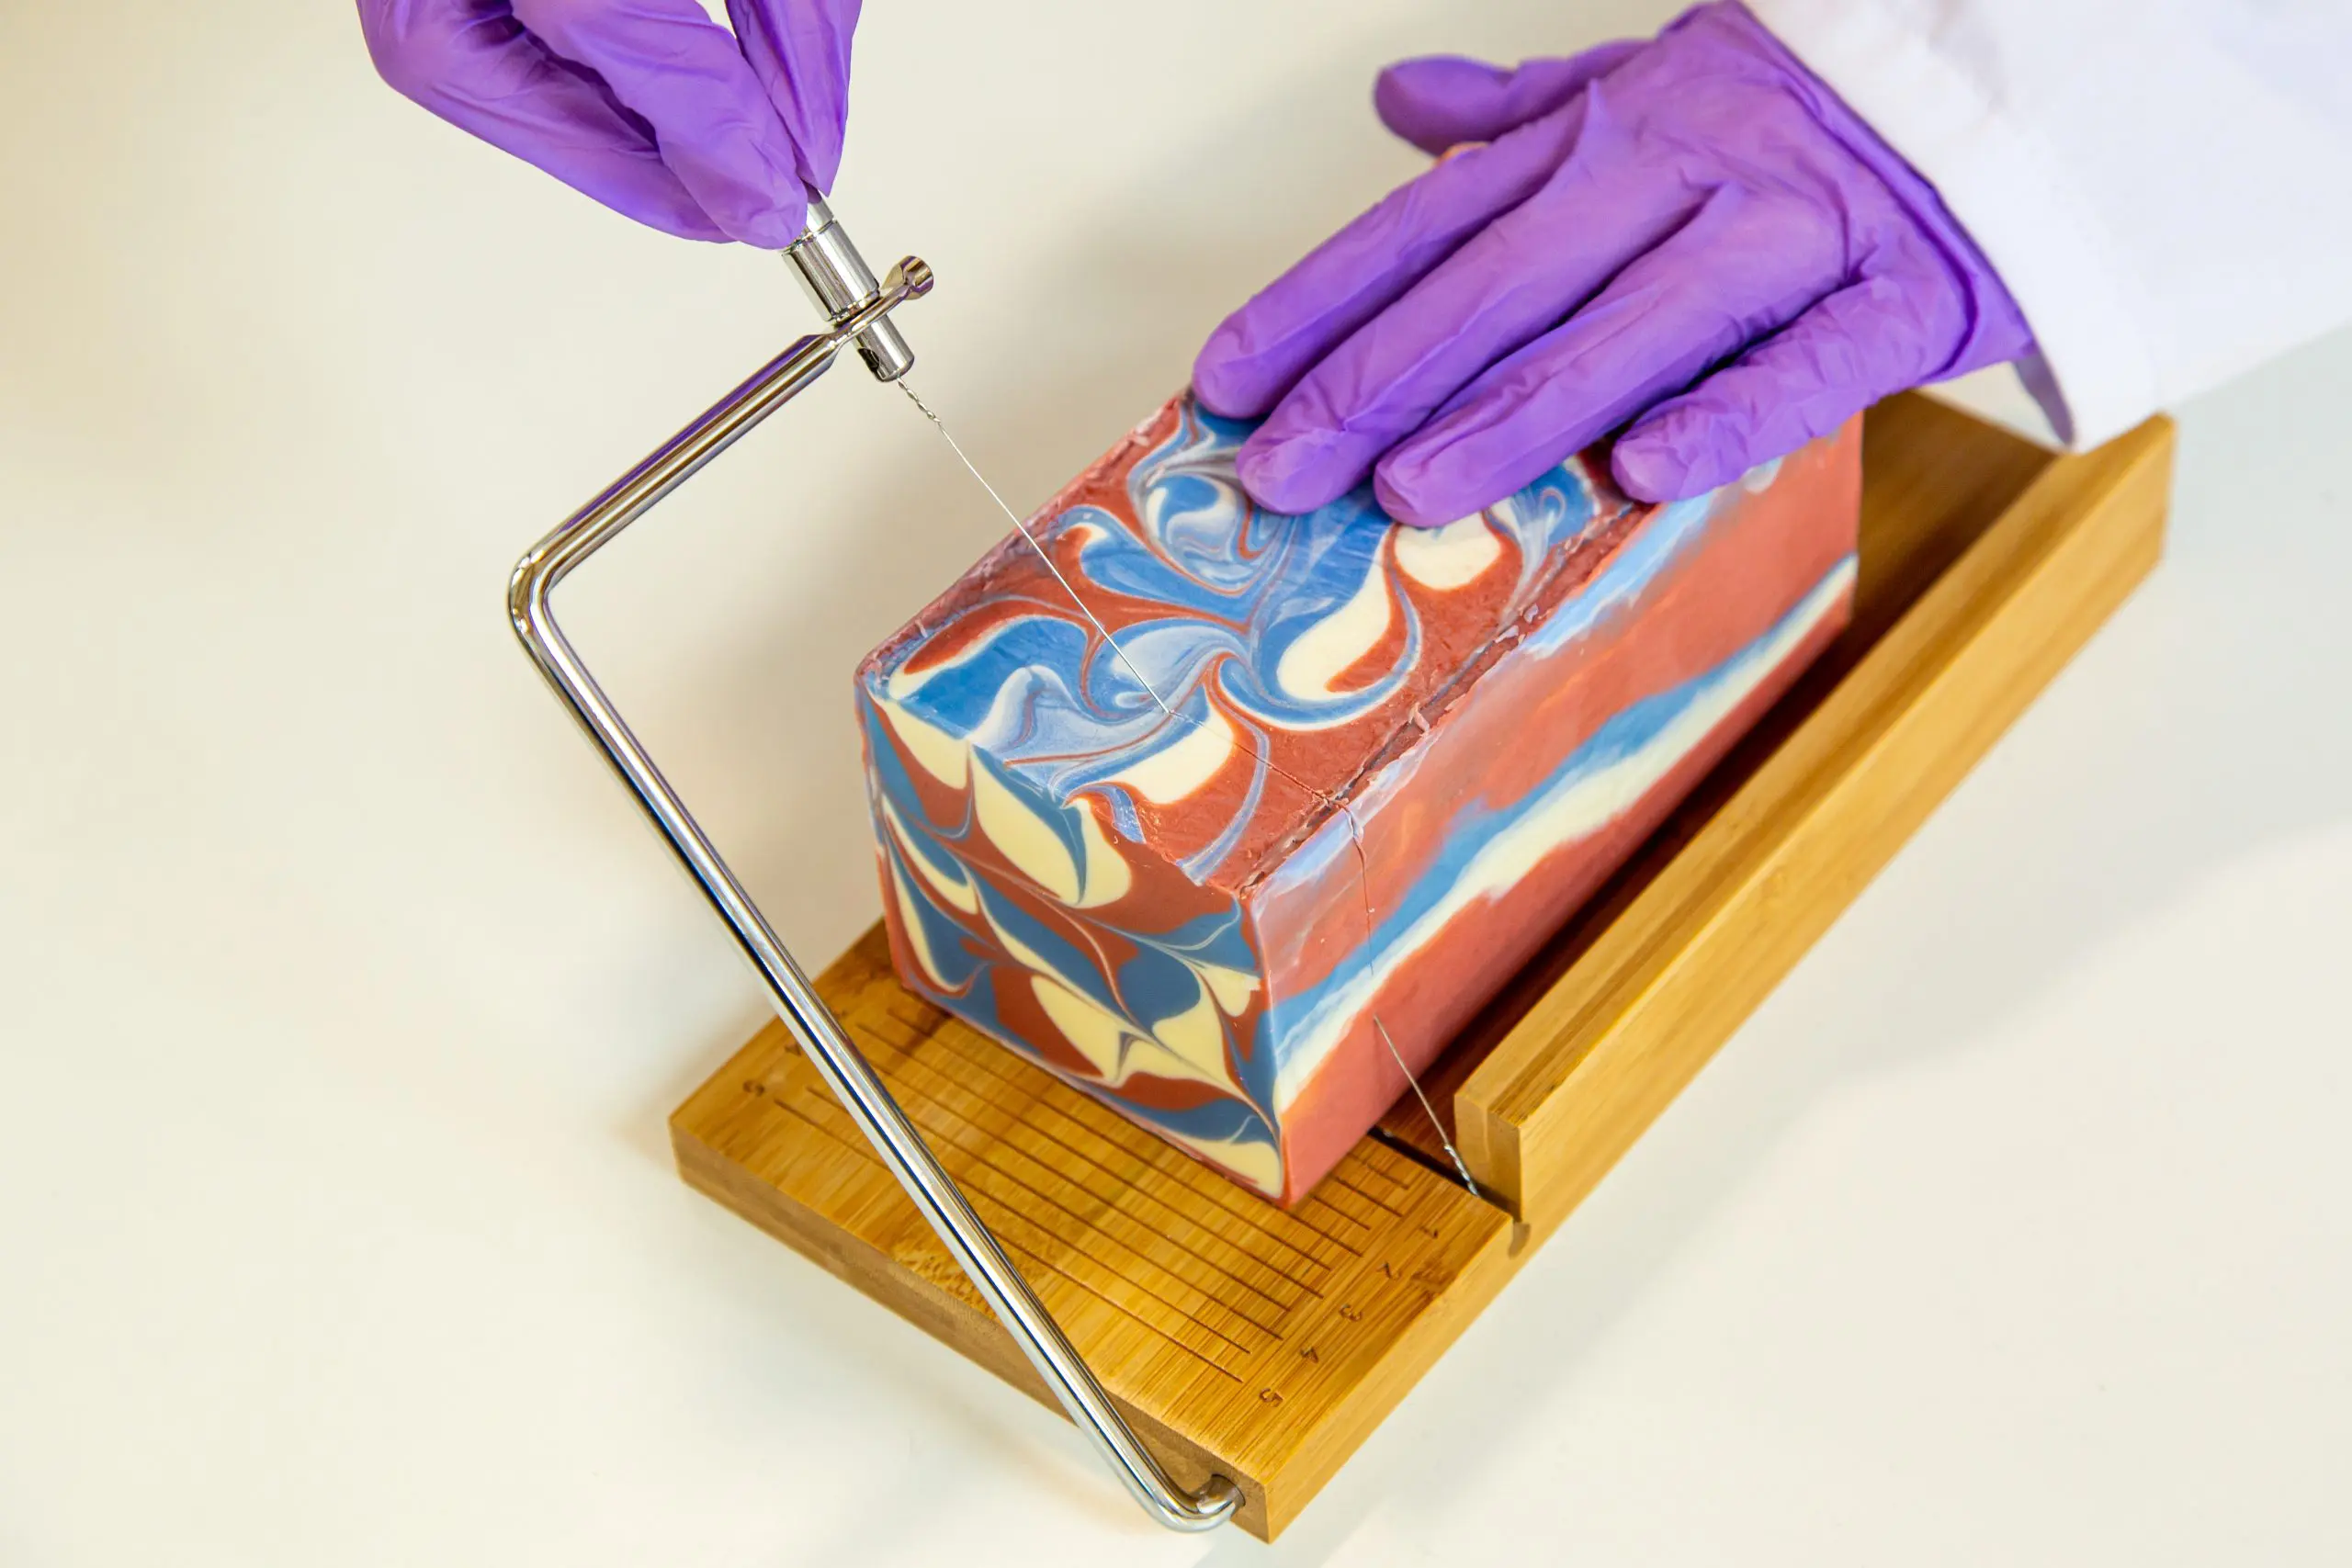
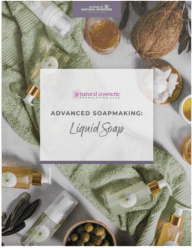
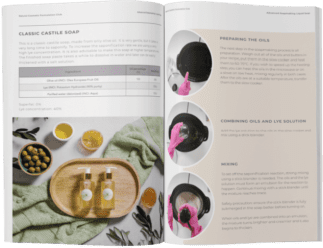
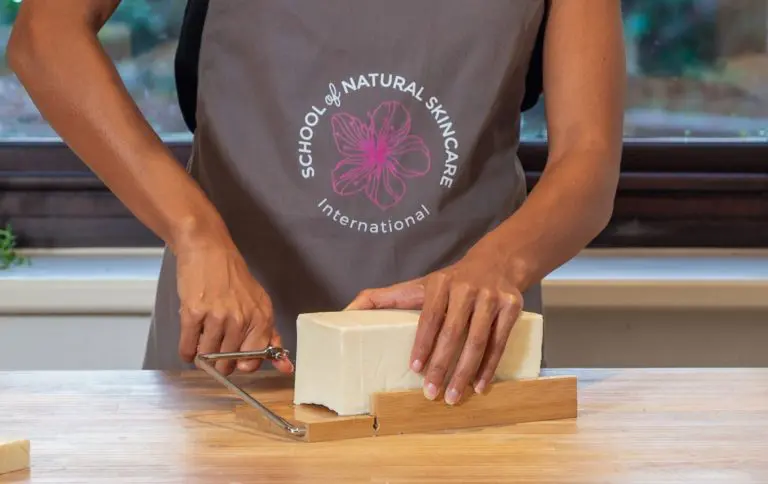
We provide professional standard formulas developed by our cosmetic scientists ready for you to follow, giving you the chance to put the theory into practice.
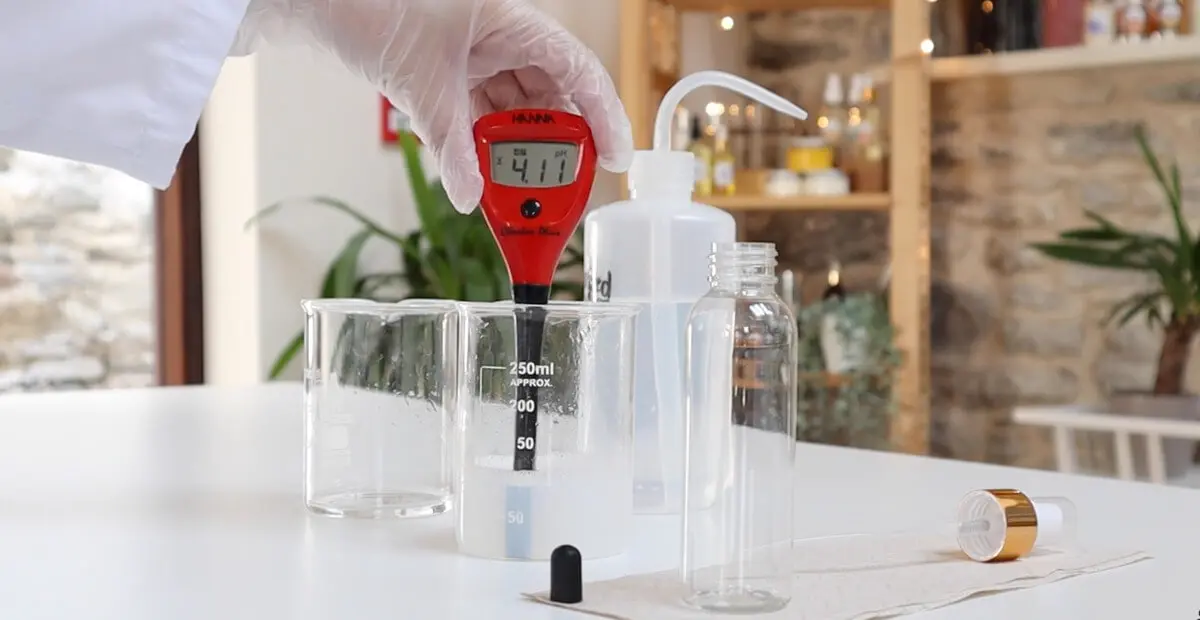
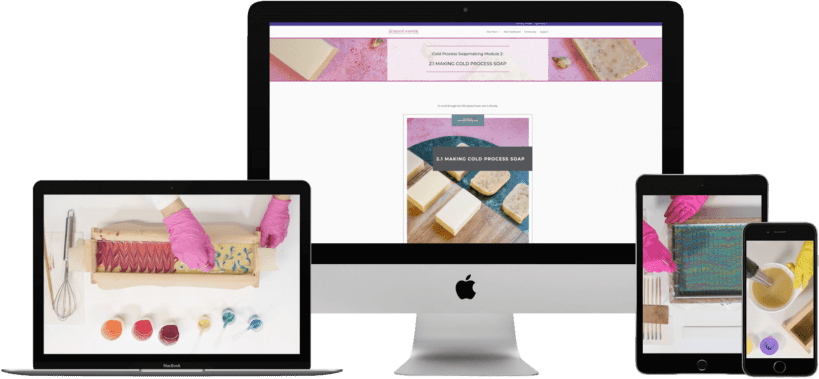
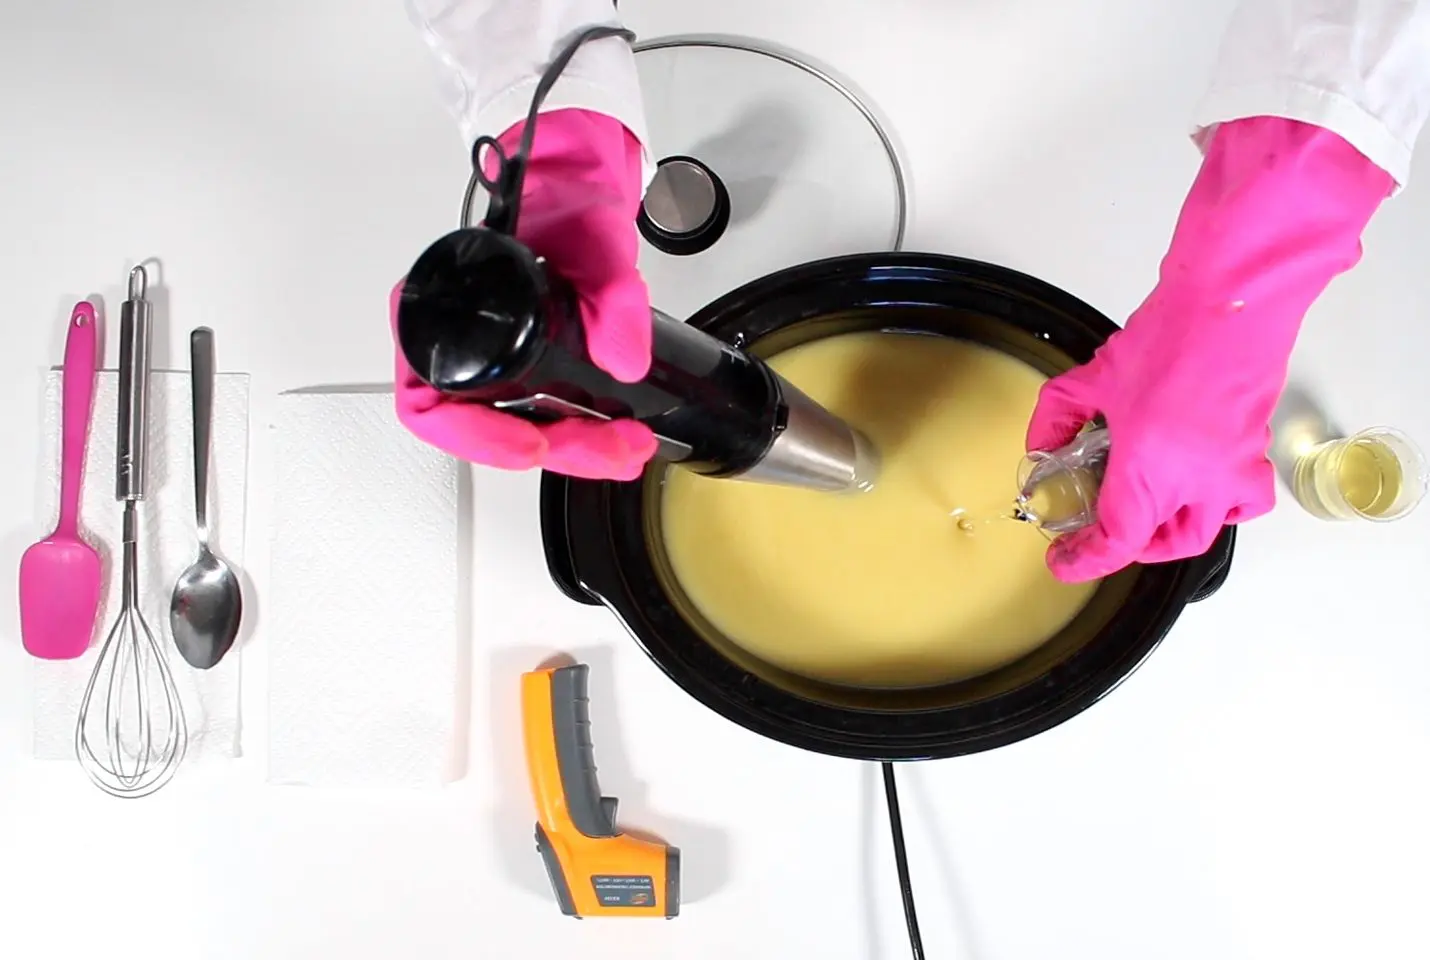
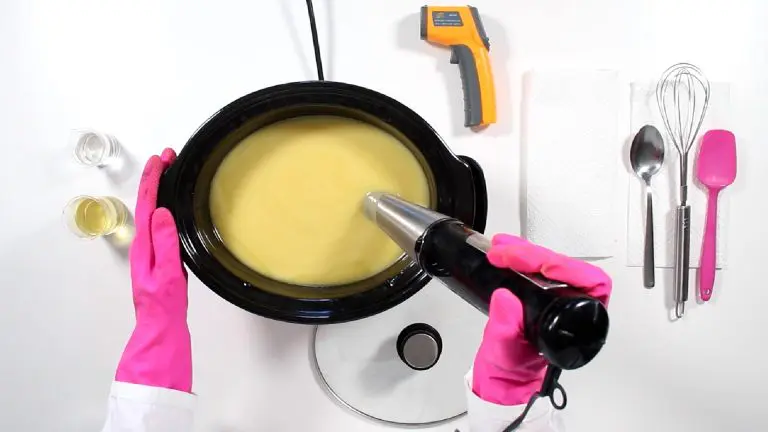
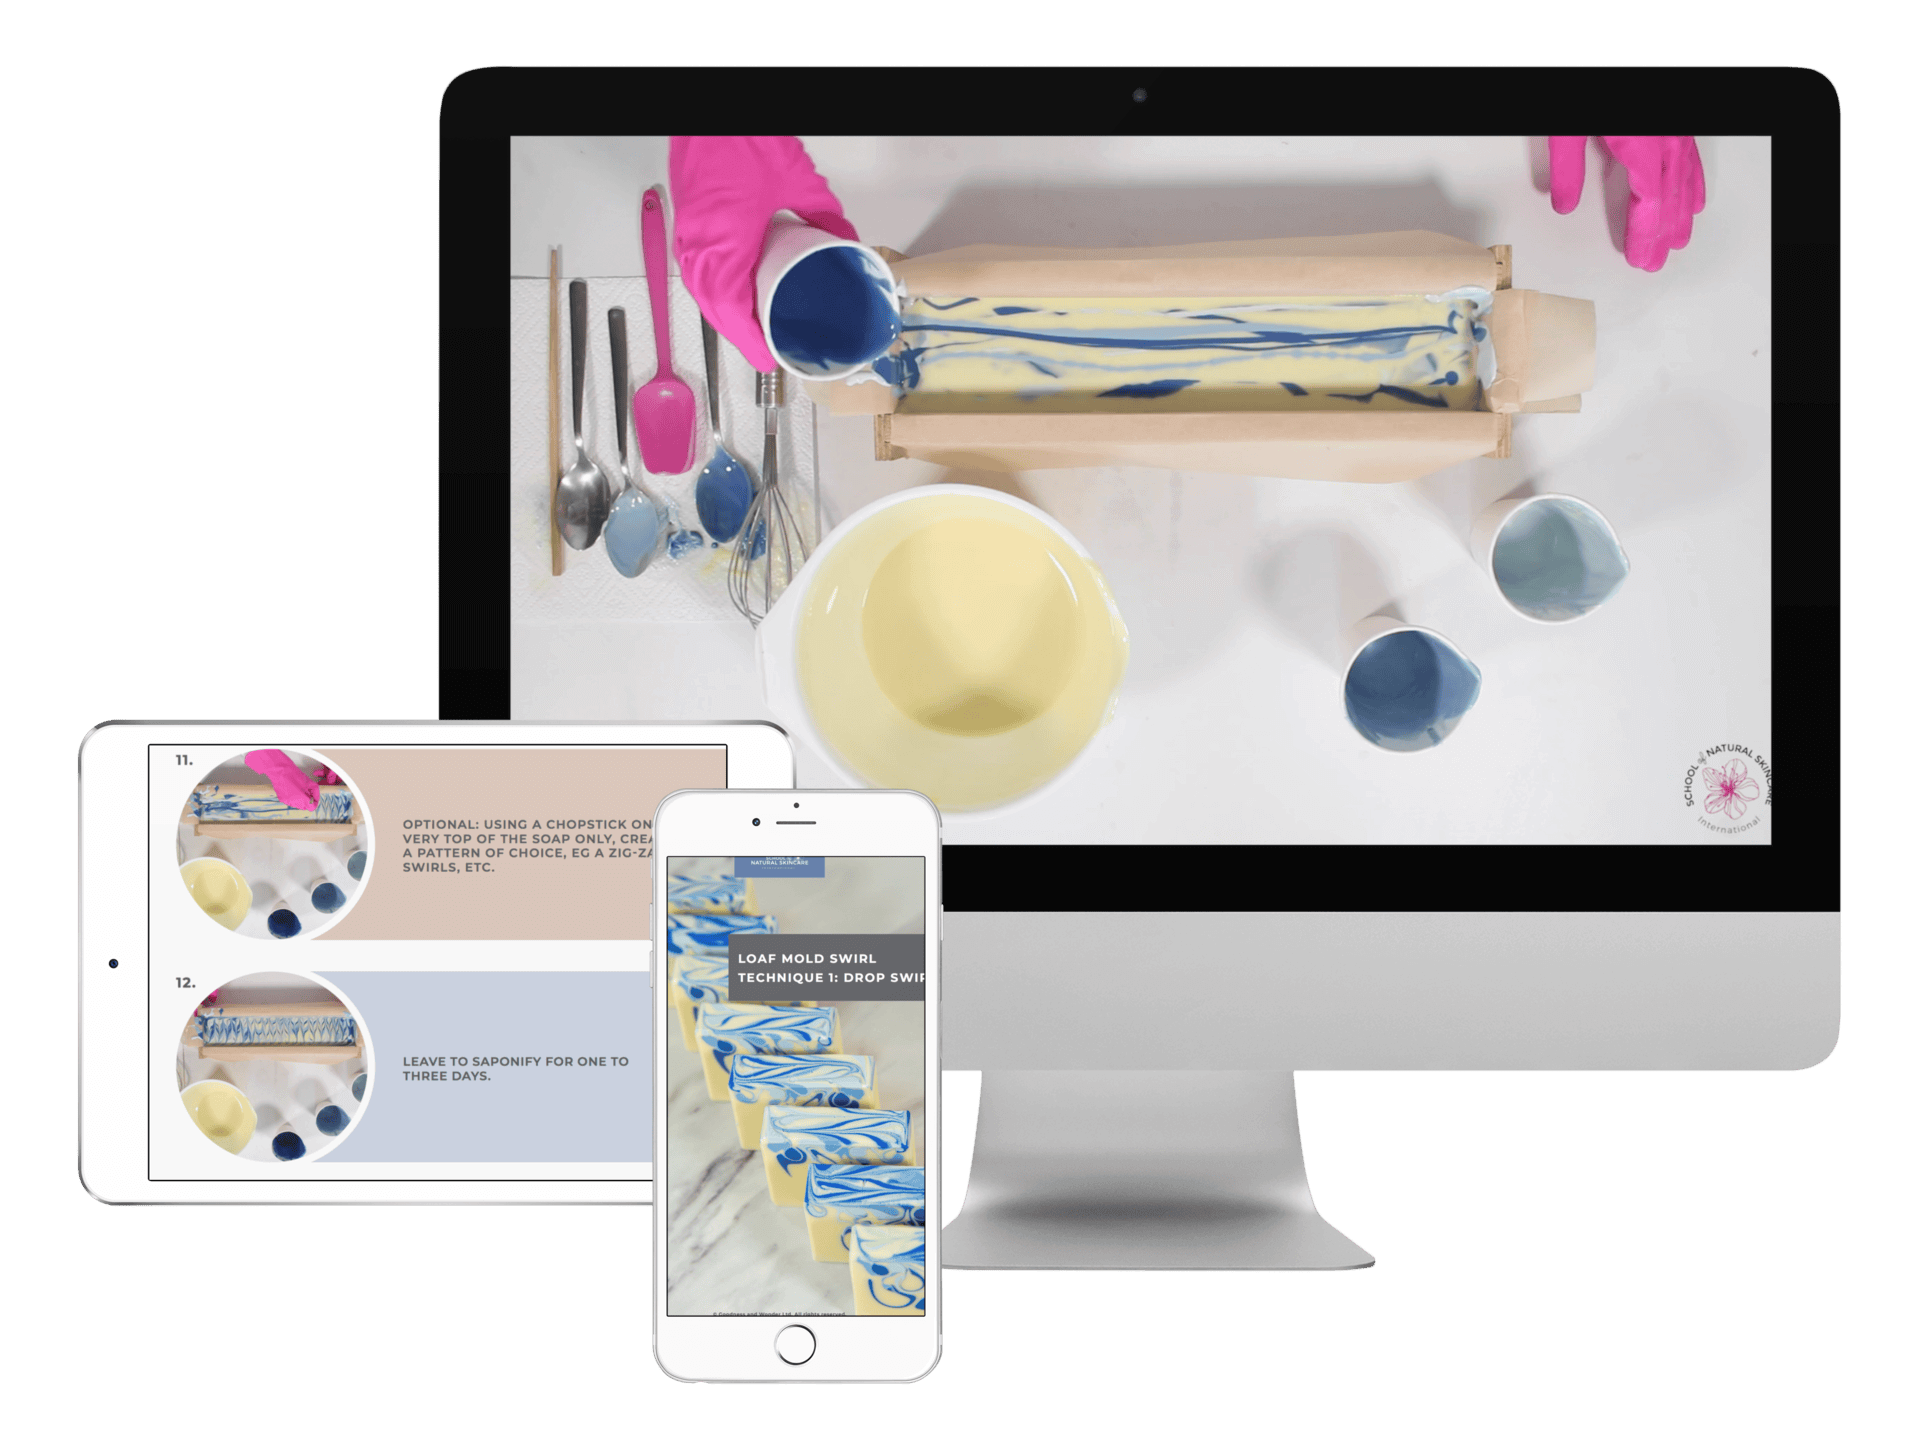
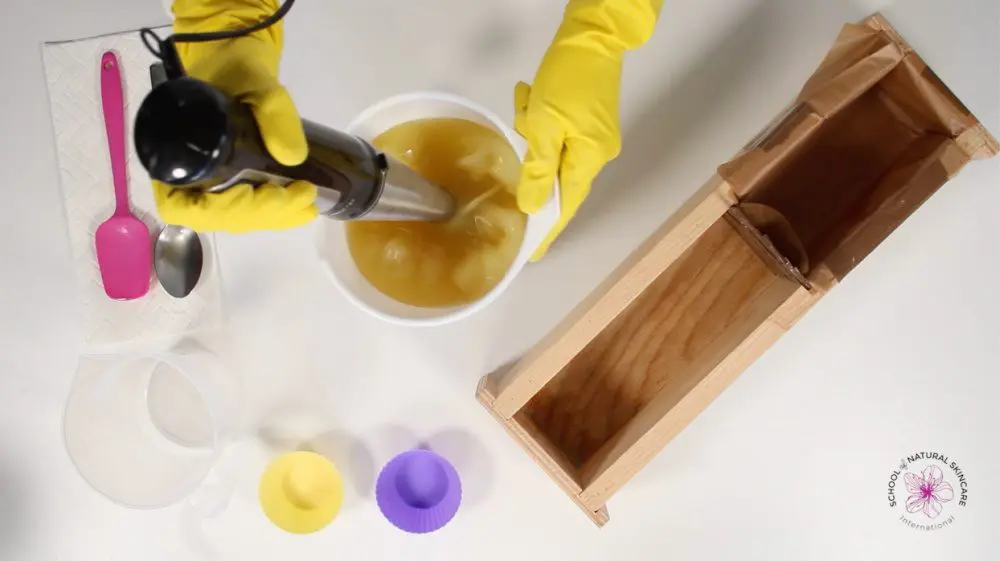
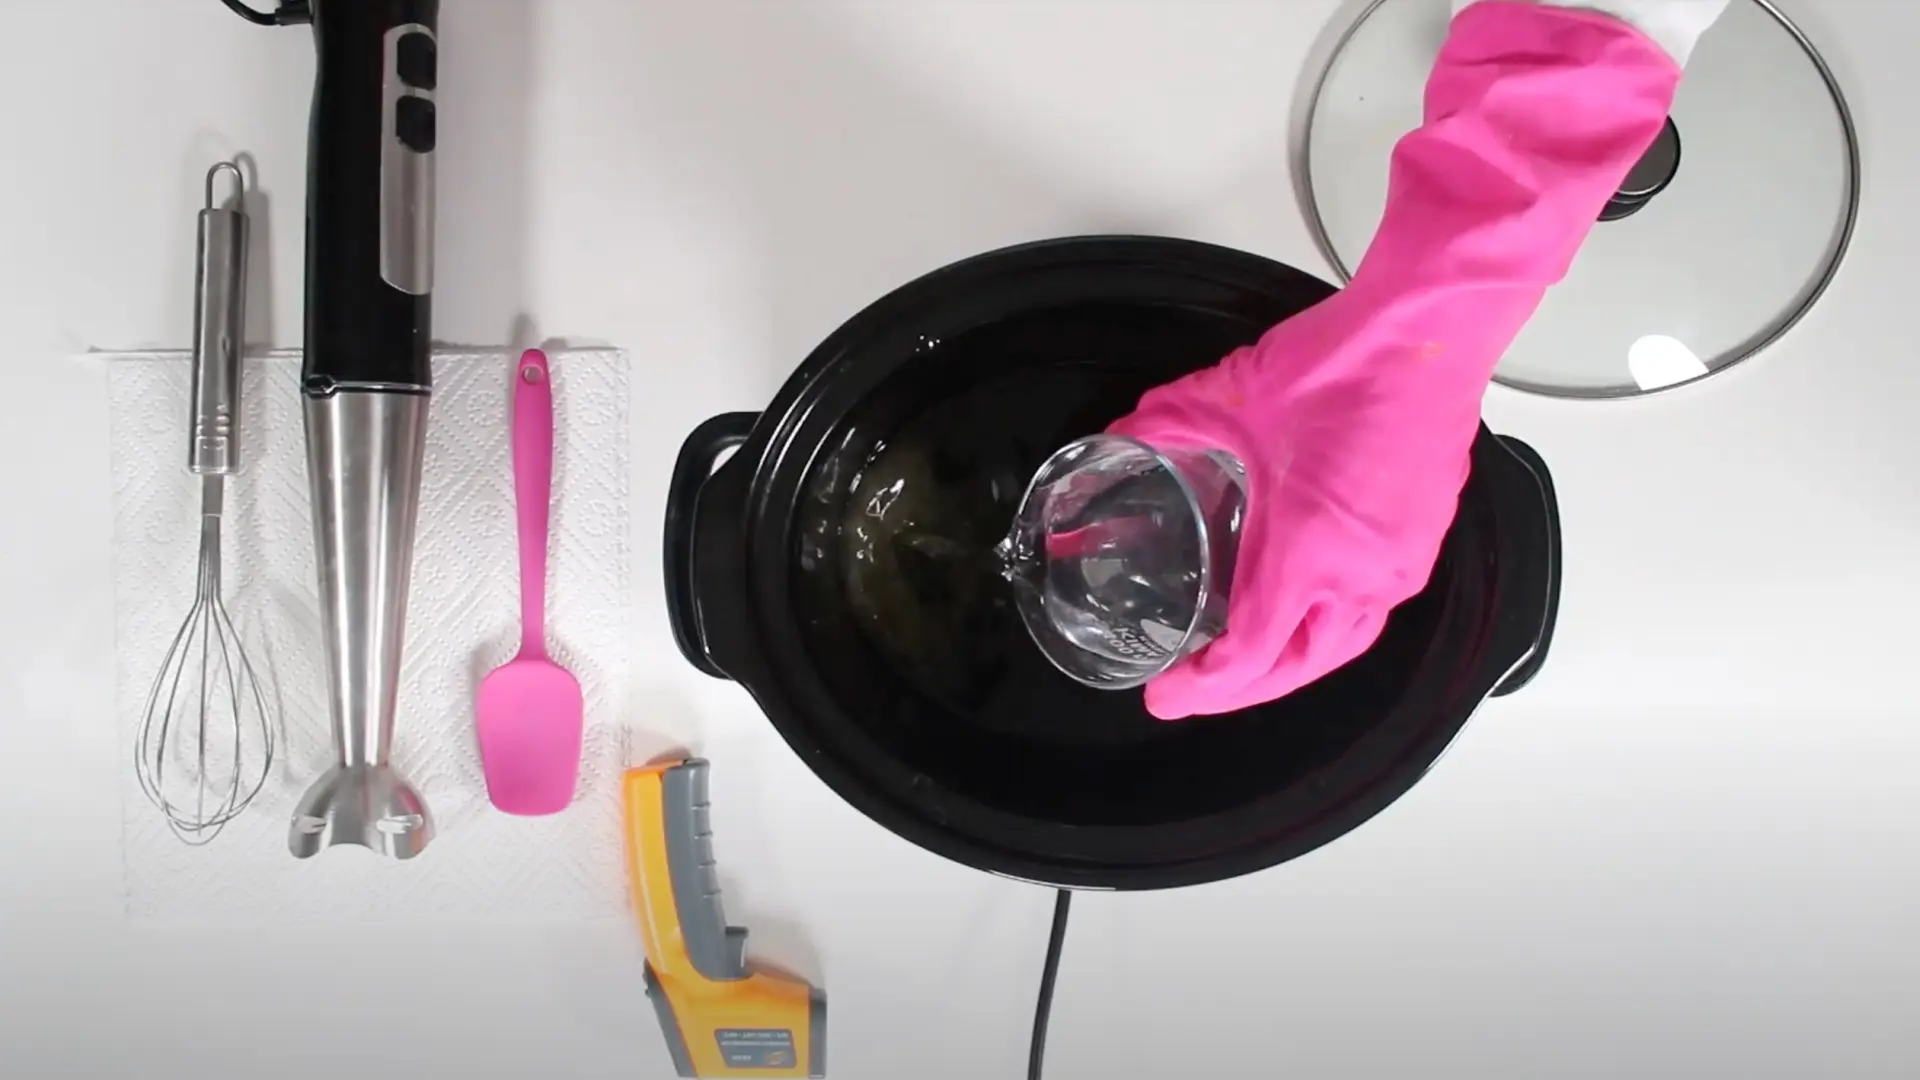
Our high quality, step-by-step video
demonstrations will help you learn the practical skills required to successfully make each type of product.

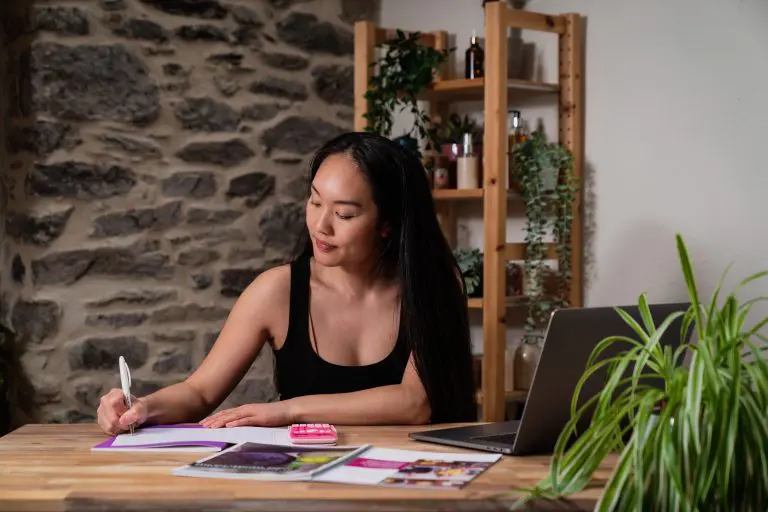
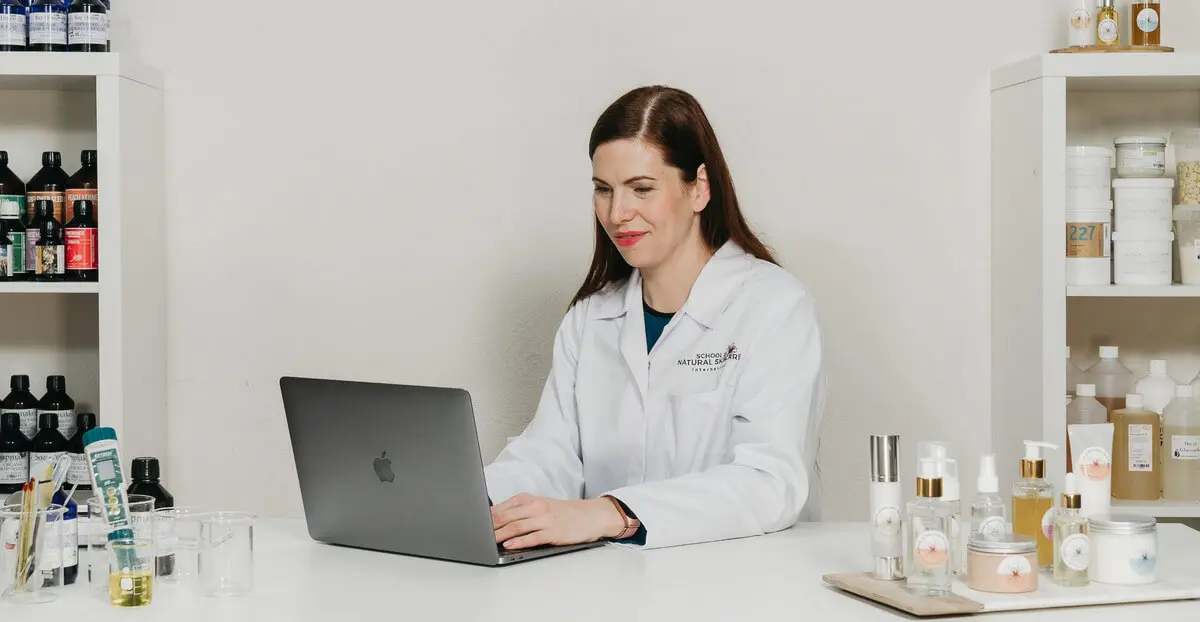
Follow the prompts and guidelines in our worksheet to formulate your own products and take the fast track to success.
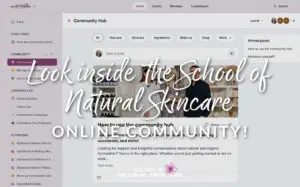
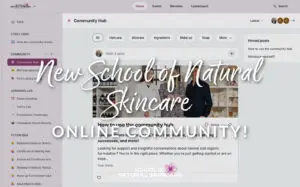
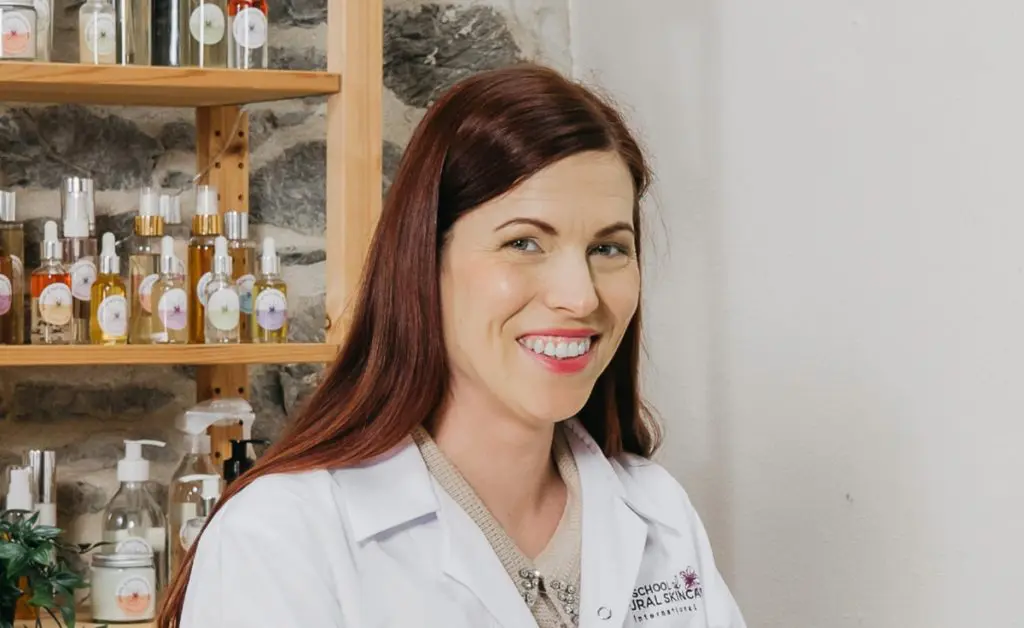
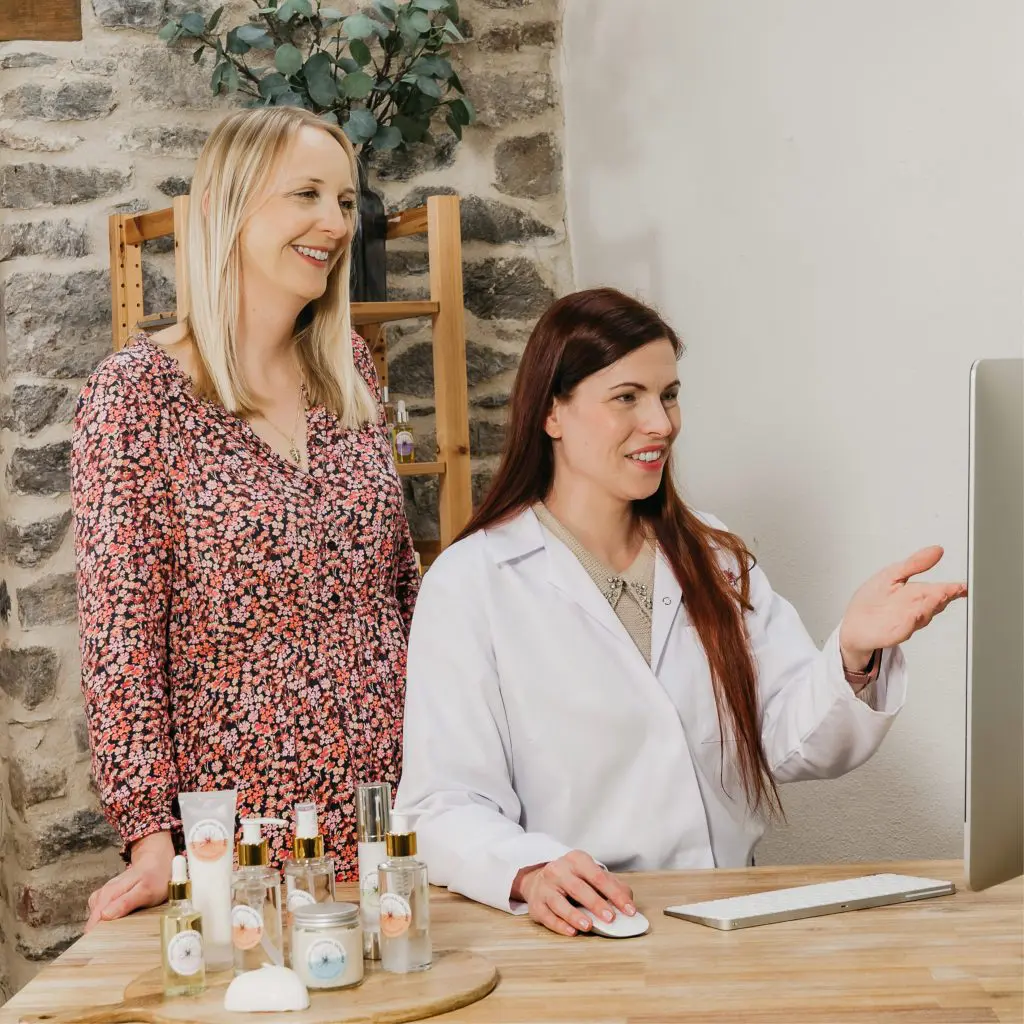
Have your questions answered by our team of scientists and join our student communities for peer support.