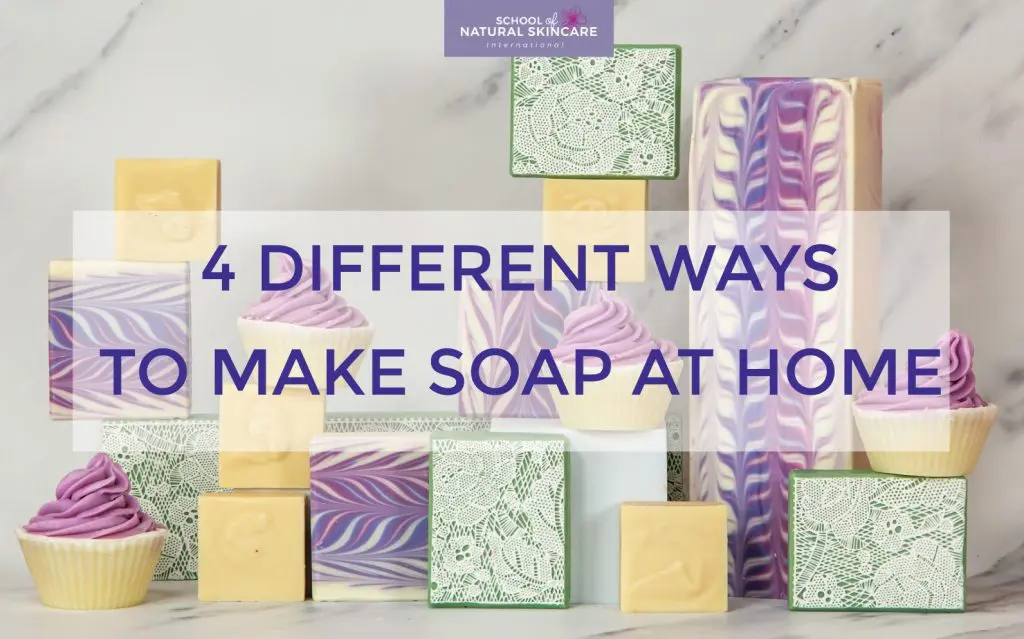

If you are interested in making soap at home (and you should as there are lots of benefits of homemade soap) there are actually four different ways to make soap that you can choose from.
Let’s explore the different types of homemade soap, how each is made, how long it takes and the skill level required.
How is soap made?
Soap is the product that results from the chemical reaction that takes place between fat (for example, plant oil, plant butter or animal fat) and a strong alkali, also called ‘lye’, for example, sodium hydroxide or potassium hydroxide.
This chemical reaction that creates soap is called saponification. The reaction between triglyceride and lye creates glycerin (glycerol), and a salt of fatty acids, which is soap.
4 different ways to make soap at home
Here are four different ways you can make soap. Three involve saponification. One isn’t true soap making (you won’t be creating a saponification reaction) but we have included it on the list as it is popular with crafters and children.
4 different types of soap making:
- Melt and Pour Soap Making
- Cold Process Soap Making
- Hot Process Soap Making
- Liquid Soap Making
Let’s look at each way of making soap in more detail.
Please note: There are very important safety considerations when making soap with lye. Even some of the soap making methods we have described as ‘easy’ carry risks if safety precautions are not followed. If you are new to soap making, our article on Lye Safety in Soap Making + 10 Safety Tips to Follow is a good place to start.
How long does it take to make soap?
Different types of soap take different lengths of time to make, from one hour to six weeks! There are usually several stages which can take varying lengths of time, for example, mixing oils and lye, saponification, hardening and curing. For each type of soap we have indicated how long it takes to carry out each stage.

Soap making method 1: Melt and Pour Soap Making
Skill level: Easy
Type of soap made: Soap bars
Hands-on time: 15-60 minutes
Time in mold: 1 day
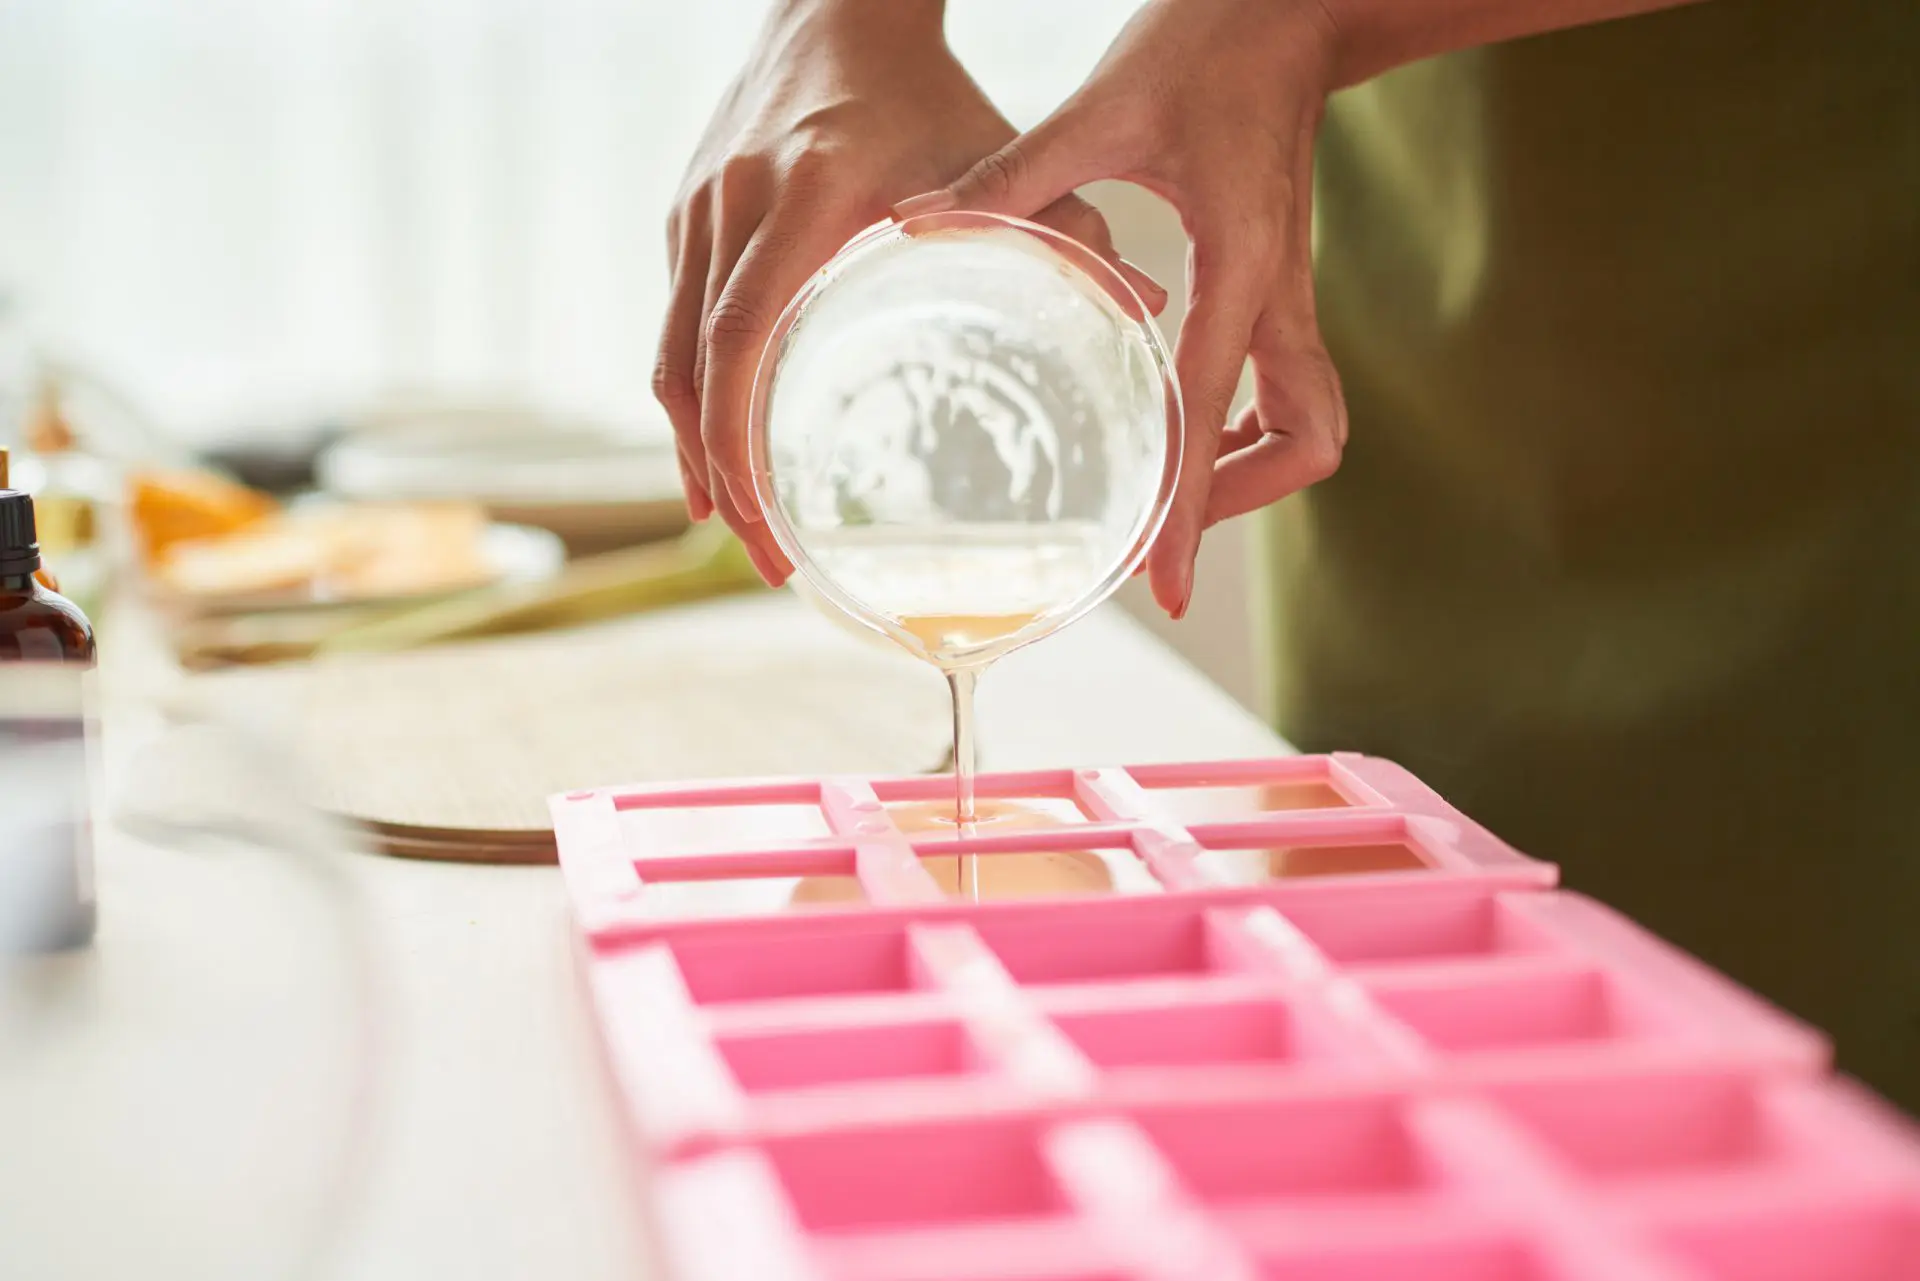
Melt and pour soapmaking isn’t ‘real’ soap making as you are not creating soap through saponification but rather you are working with a pre-prepared soap base. It’s popular with crafters who want something very quick and easy to make or if you want to make soap with children.
As the name suggests, you simply need to melt the soap base, add fragrance and color if you wish, and pour into molds to set. As you don’t need lye to make melt and soap pour soap it is safe to make with children (under the correct supervision, of course).
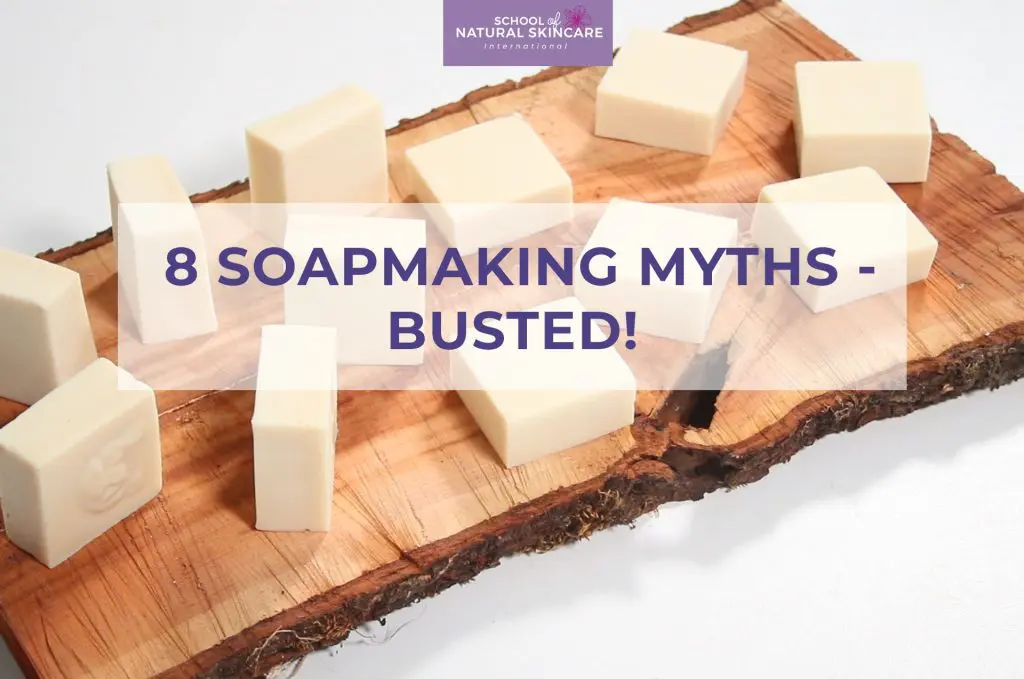
Soap making method 2: Cold Process Soap Making
Skill level: Beginner and intermediate
Type of soap made: Soap bars
Hands/on time: About 60 minutes
Time in mold: 24-72 hours
Cure time: 4+ weeks
Cold process soap is made via saponification; the lye used is sodium hydroxide (NaOH). It is made at relatively low temperatures (usually 30-50°C).
Cold process soap recipes contain nourishing oils and butters, and which ones you use will affect the quality of the soap, its cleansing and nourishing abilities and the speed of saponification. Different oils/butters have different fatty acid compositions; each fatty acid will impart certain qualities to the finished soap.
How to make Cold Process Soap
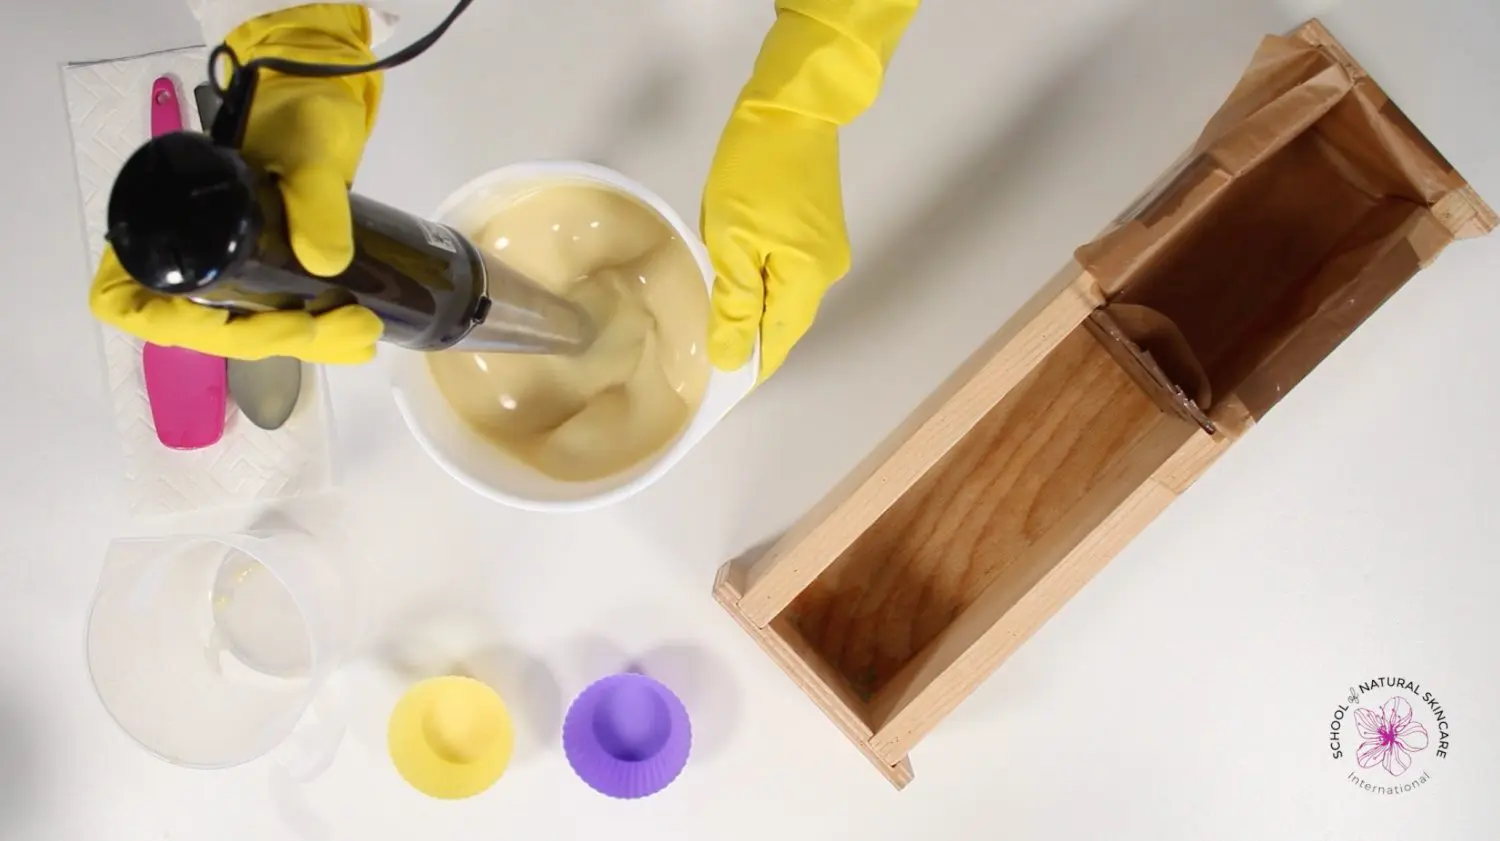
The oils and lye solution are combined and mixed with an immersion blender to set off the saponification reaction. The soap batter is then poured into a mold where the saponification reaction continues over the next few days.
When the soap has hardened it is taken out of the mold and cut into the bars. The bars need to cure for four to six weeks, during which time the oils finish saponifying and the bars harden further.
Beginners should start by following reliable soap recipes and instructions such as the ones we provide in our Diploma in Soap Making and Certificate in Cold Process Soap Making online courses.
Once you are confident making simple cold process soap bars following a recipe, you can:
- Use additives in your soap recipe such as colors, fragrance and exfoliants.
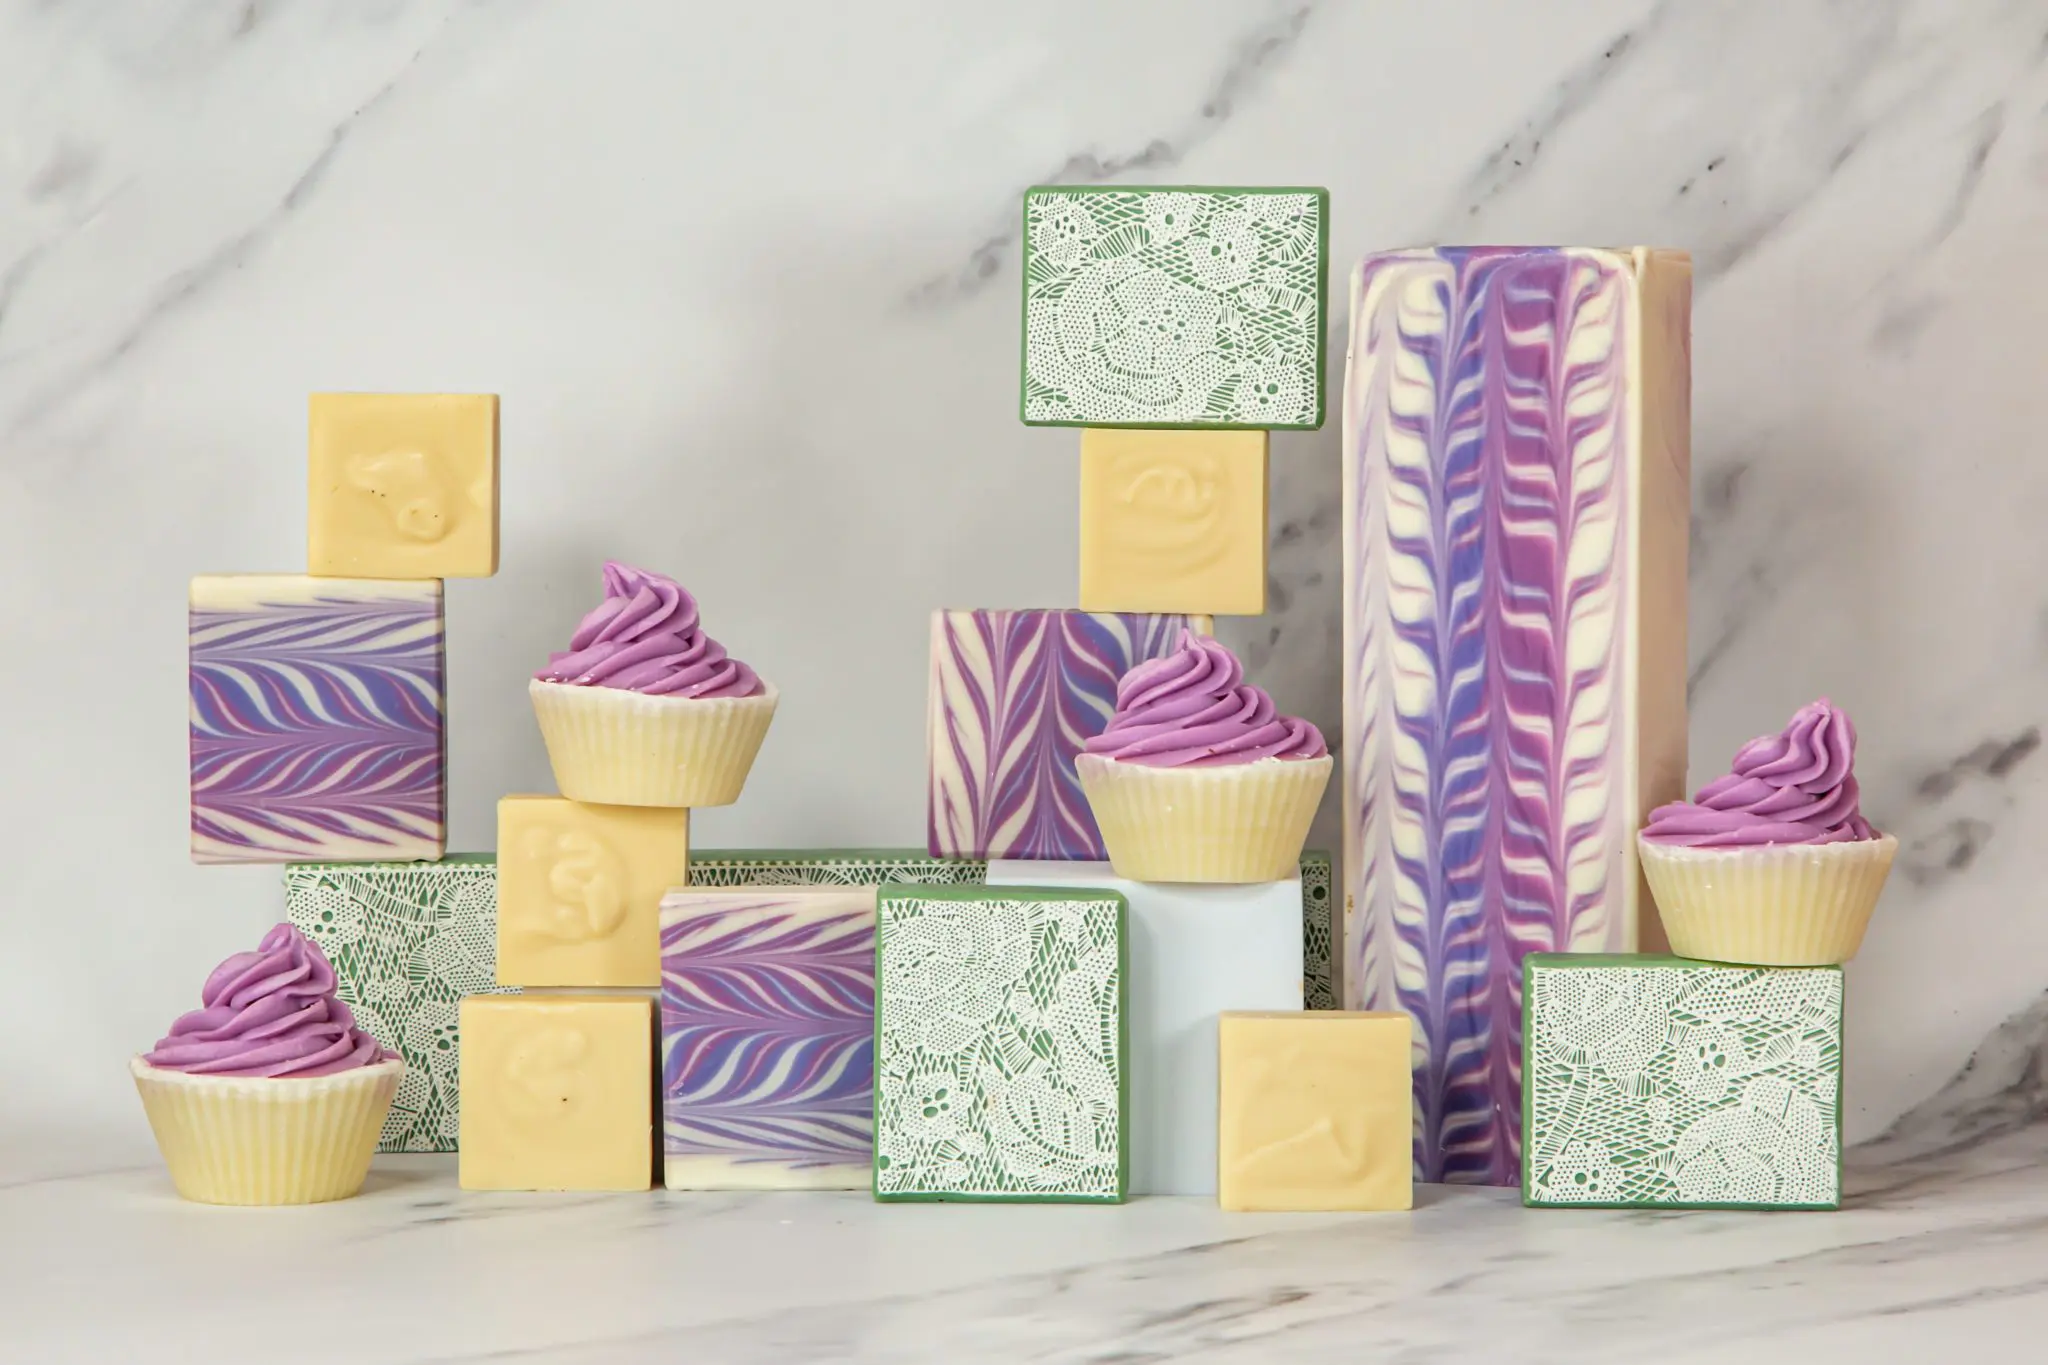
- Create milk soap.
- Learn the piping soap method to pipe soap just like cake icing! Piped soap can be used to decorate the top of a soap loaf or to make cupcake soaps.
- Move on to create your own recipes and formulate your own soap. This requires understanding the properties different oils give to soap and carrying out some calculations using the saponification value of your chosen oils and butters.
- Experiment with different cold process soap designs and soap swirl techniques.
Then you can move on to hot process and liquid soap making!
Soap making method 3: Hot Process Soap Making
Skill level: Advanced
Type of soap made: Soap bars
Hands on time: Usually 1-4 hours
Time in mold: 1 day
Cure time: Ready to use straight away but benefits from 4+ weeks cure time
Hot process soap is made via saponification; the lye used is sodium hydroxide (NaOH). A wide range of oils and butters can be used in the recipe.
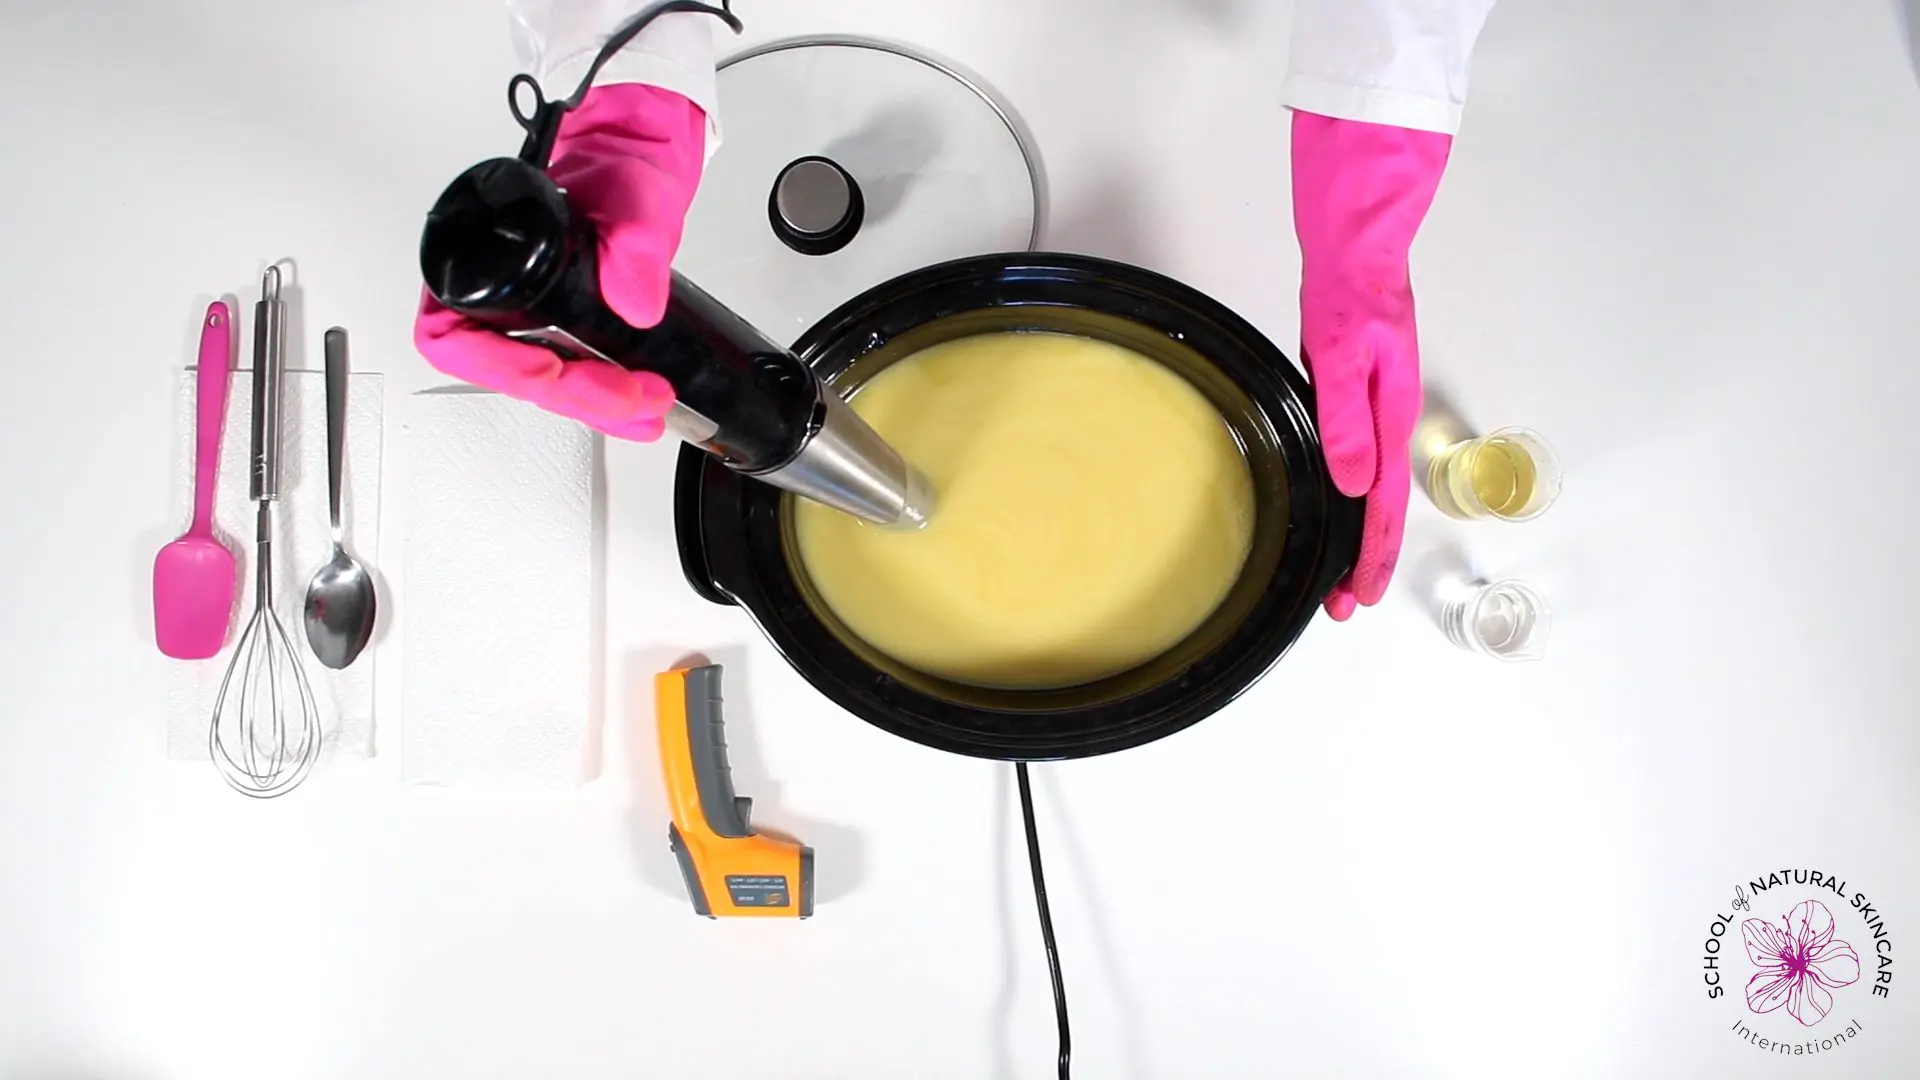
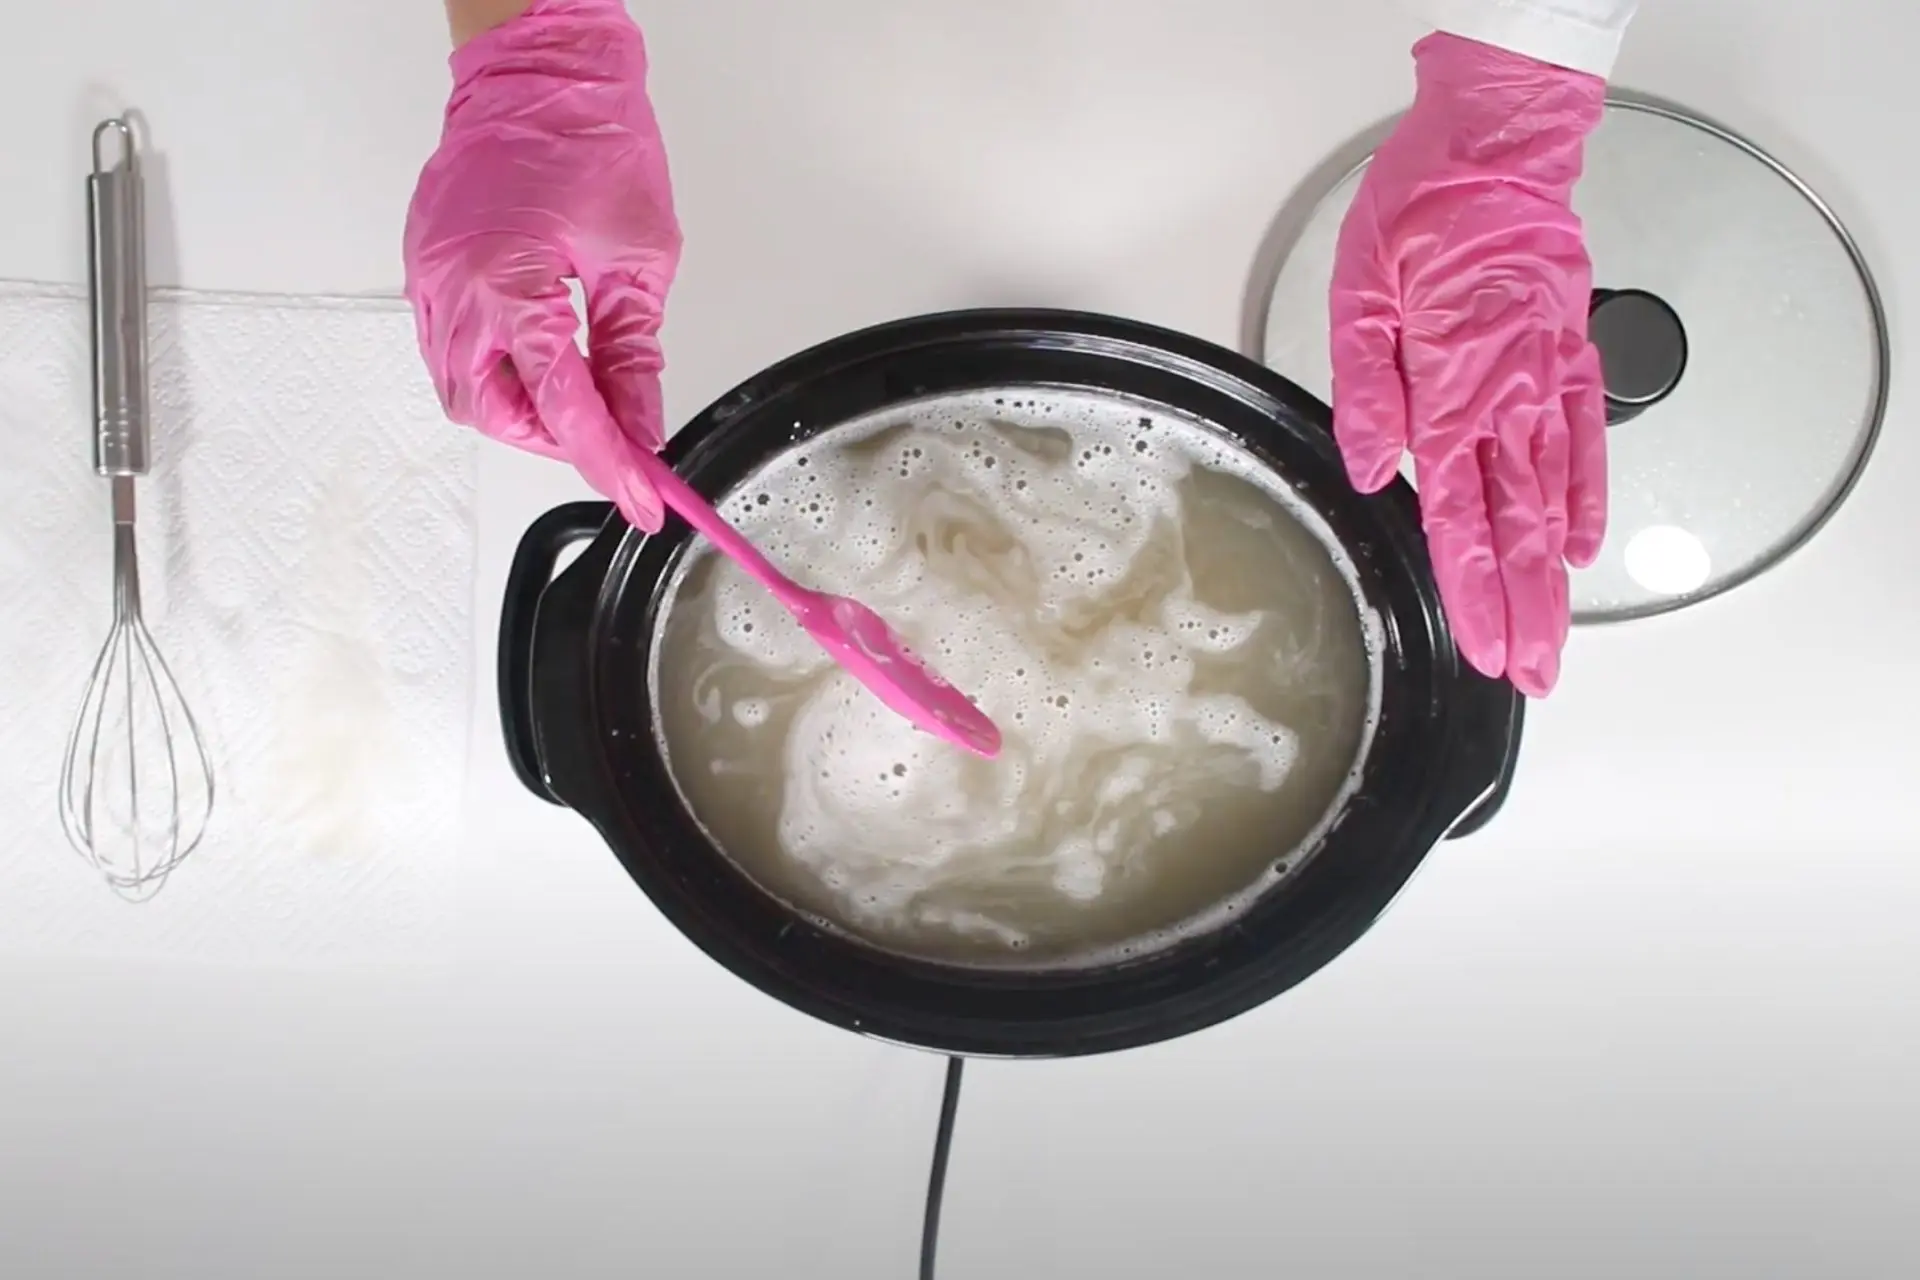
We recommend you become confident with cold process soap making before trying hot process soap making. In hot process soapmaking a slow cooker (or crock pot) is used to ‘cook’ the oil mixture while it saponifies.
Hot process soap is made at higher temperatures than cold process (usually 50-100°C). The soap making process can be very quick, even 30 minutes from start to finish, depending on the temperature you are working with.
In hot process soap you can control the post-cook superfat, which means you can make very nourishing soaps. Read more about 10 reasons to make hot process soap.

How to make Hot Process Soap
The oils and lye solution are combined in a slow cooker and mixed with an immersion blender. The mixture is left to ‘cook’ (saponify) in the slow cooker, either with continuous or intermittent mixing, depending on the temperature at which you are making the soap
The cooked soap batter is then poured into a mold and left to harden.
When the soap has hardened it is taken out of the mold and cut into the bars. The bars are ready to use straight away though they do benefit from some time to cure.
We explore the differences between cold and hot process soap in more detail in Cold process vs hot process soap: A quick guide.
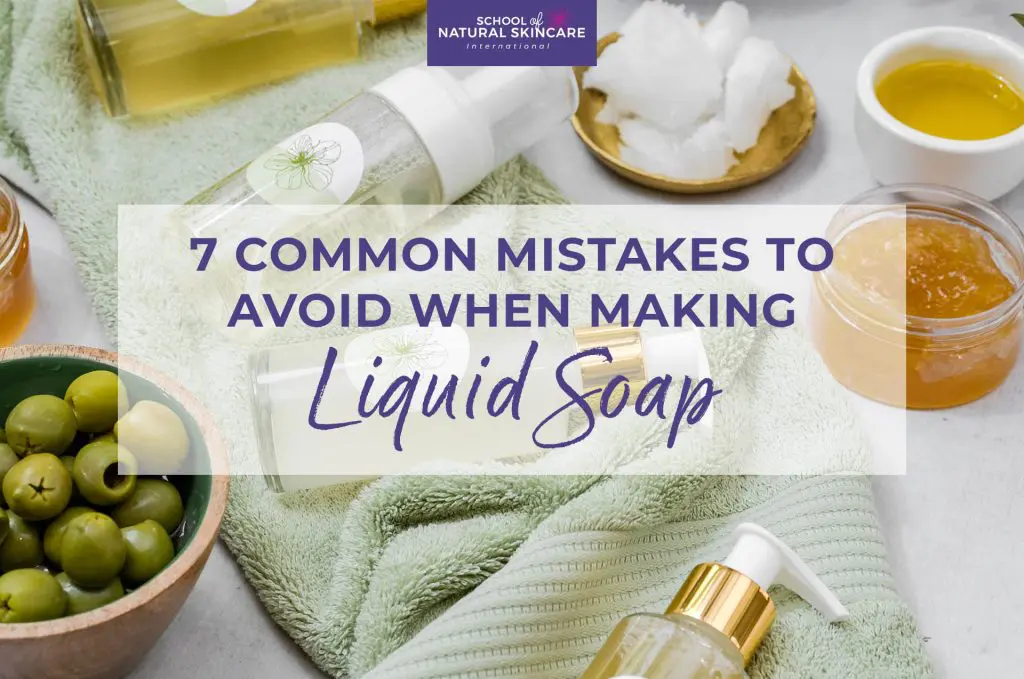
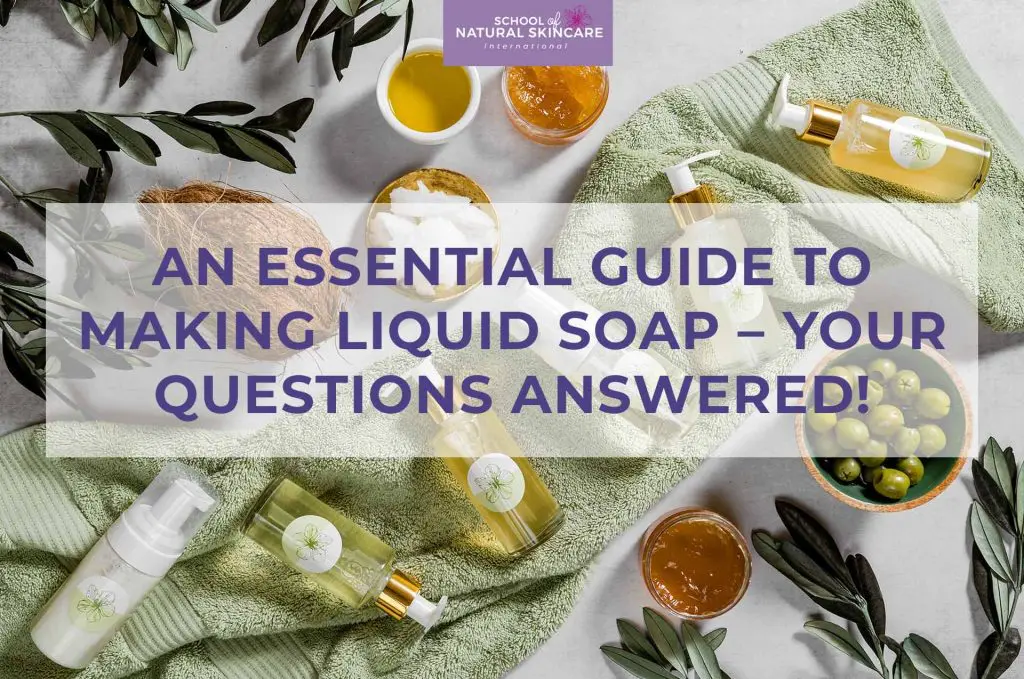
Soap making method 4: Liquid Soap Making
Skill level: Advanced
Type of soap made: Liquid soap
Making soap paste: Usually 1-4 hours
Diluting: 30 minutes-3 hours
Thickening: 30 minutes
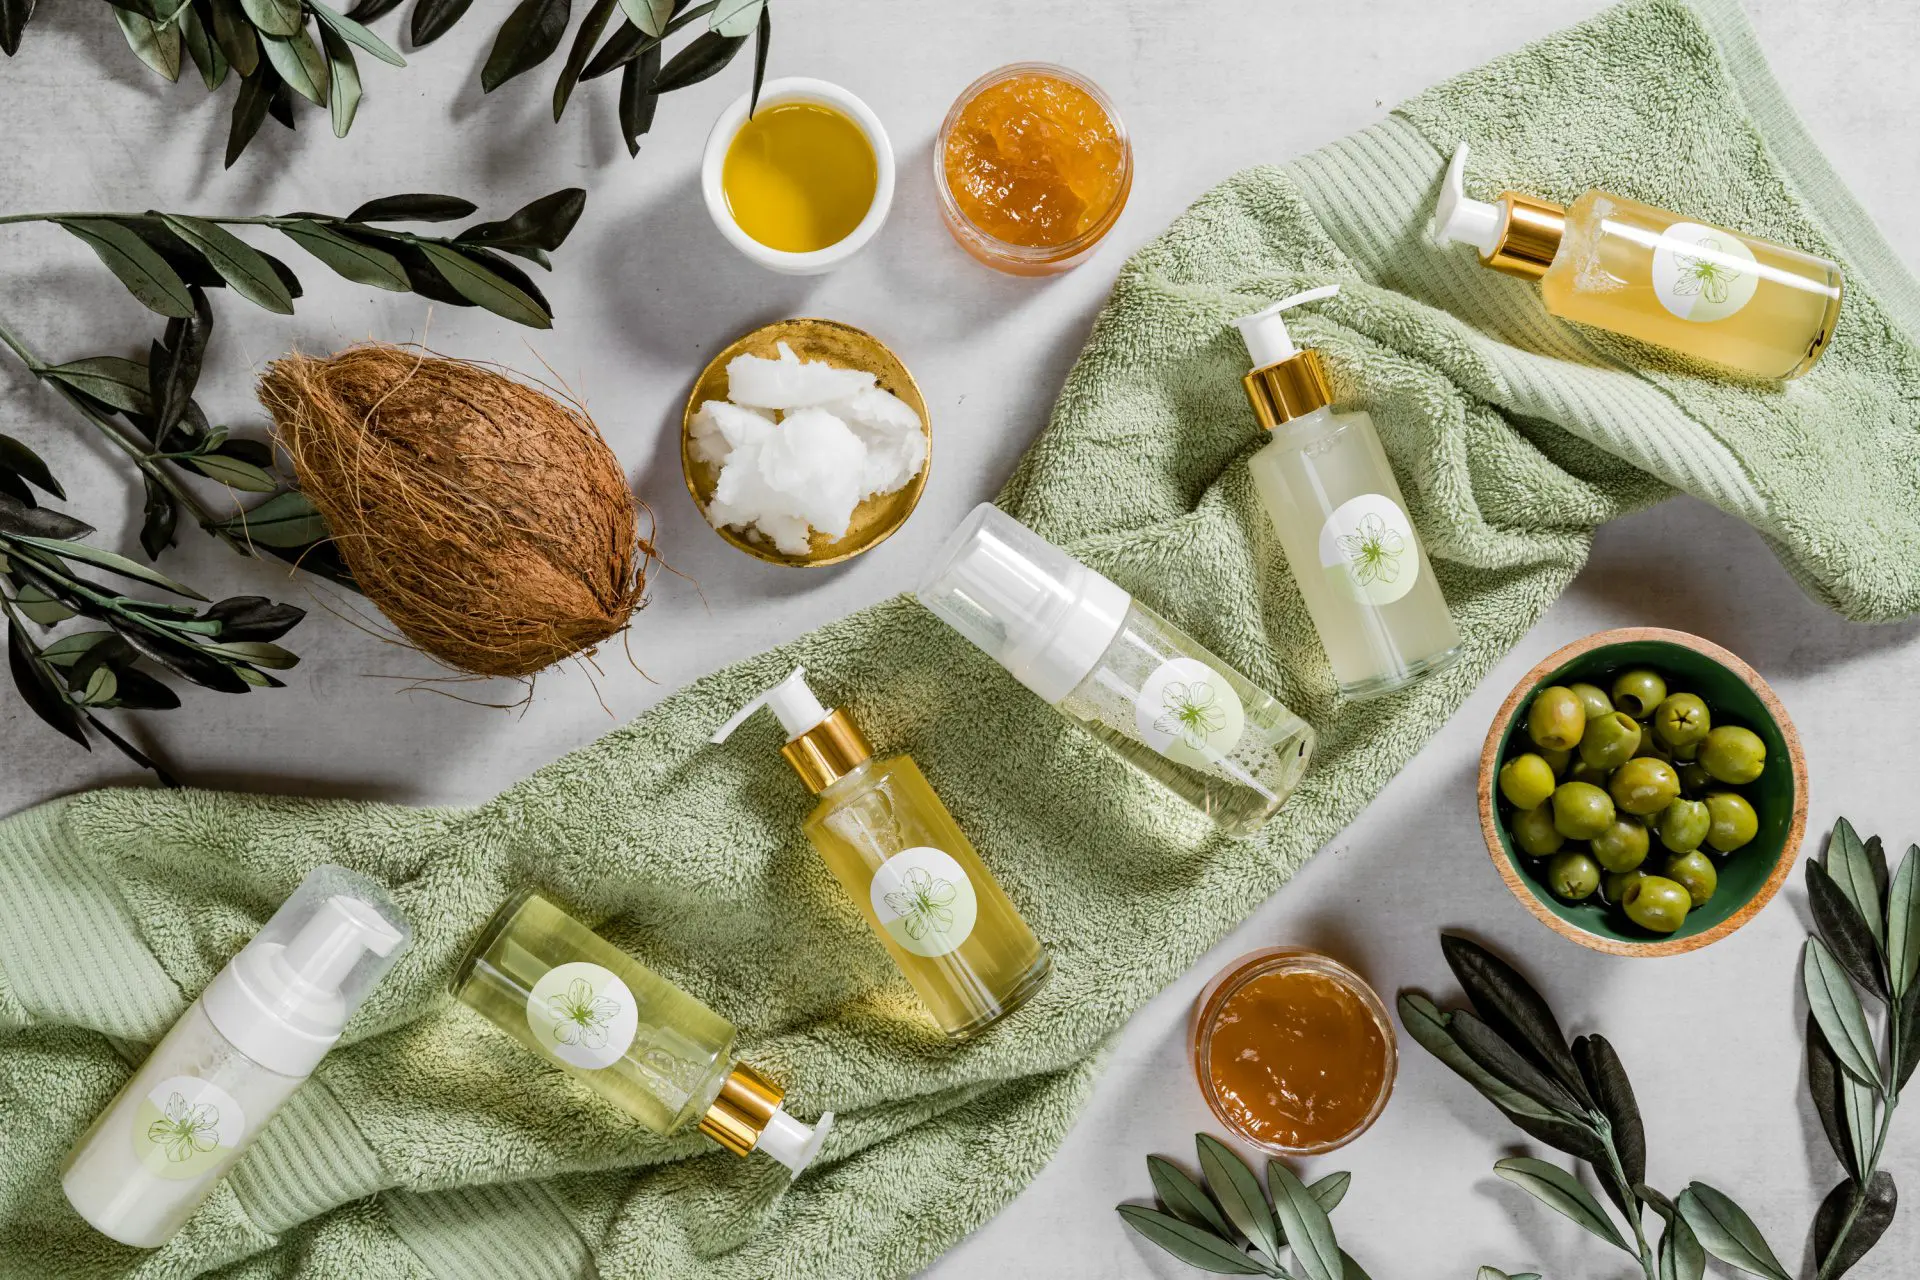
Liquid soap is made via saponification; the lye used is potassium hydroxide (KOH). A wide range of oils and butters can be used in the recipe.
It is not possible to take a recipe for a soap bar and use KOH instead of NaOH at the same amount, to make liquid soap. It is important to calculate the amount of lye needed according to the lye you are using.
We recommend being confident with hot process soap making before starting liquid soap making.
How to make Liquid Soap
The oils and lye solution are combined in a slow cooker and mixed with an immersion blender either with continuous or intermittent mixing depending on the temperature at which you are making the soap. The mixture is left to ‘cook’ (saponify) in the slow cooker; the length of time will depend on the temperature at which you are making the soap.
The result of cooking the soap is ‘soap paste’. The soap paste is diluted in purified water to make liquid soap.
Diluted soap can be left unthickened or it can be thickened. If the diluted soap is left unthickened with a viscosity similar to water or milk, it can be packaged into a foamer bottle. When the liquid soap is dispensed through the foamer bottle, it turns into foam.
In order to make the soap suitable to be packaged into a common pump bottle, a higher viscosity is needed which is achieved by using salt or a thickener to thicken the soap into a gel consistency.
Learn 3 ways to make soap in our Diploma in Soap Making!
Our brand new Diploma in Soap Making is open for enrollment soon! This four-part course is the most comprehensive online soap making Diploma course available, covering four areas of soap making:
Part 1: Cold Process Soap Making
Part 2: Advanced Soapmaking: Soap Swirling Techniques
Part 3: Advanced Soapmaking: Hot Process Soap
Part 4: Advanced Soapmaking: Liquid Soap
Our Diploma in Soap Making is a detailed course that covers everything you need to know to make three types of soap safely and successfully. Containing detailed step-by-step videos showing you exactly how to make each type of soap, beautiful and detailed course textbooks to download, tried-and-tested recipes to follow, troubleshooting advice and tutor support from a master soapmaker, you’ll have everything you need to create exceptional soap!
We’re looking forward to welcoming you to our online Diploma in Soap Making and if you have any questions, please reach out to our customer service team by email on [email protected]. We’d be delighted to hear from you and help you with your enquiry.